Use Action
This guide will describe how to implement a use action from scratch using MAGES SDK
Use Action consists of three possible ways to perform the corresponding action accordingly to user needs
These are:
Simple
Use With Tool
Use With Collision Hit
To generate a Use Action you need:
The interactable prefab
The use collider
An animated hologram
Simple
This form of Use Action requires the user to “use” an object for a specified amount of time
In this tutorial, we will implement a Use Action where the users should take a cloth to clean the Sponza model.
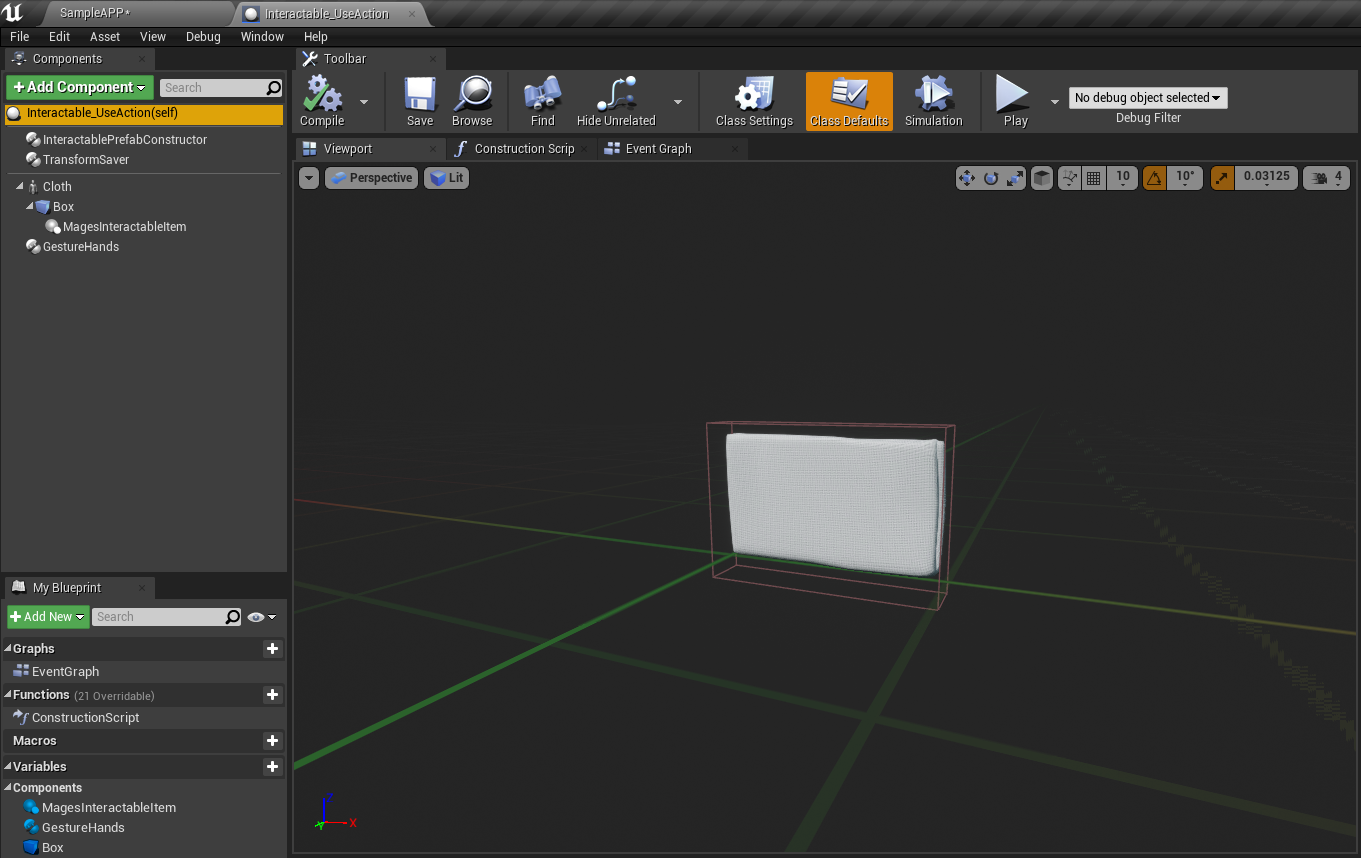
Interactable prefab
To create an interactable actor you need:
First, you need to create a blueprint class having your interactable model as root
Add a collision component on that mesh
Attach the component ‘Mages Interactable Item’ on the collision component
Attach the Interactable Prefab Constructor component on the actor
Attach the Transform Saver Component
Attach the Gesture Hands component
An example of what the blueprint call actor should look like is shown below:
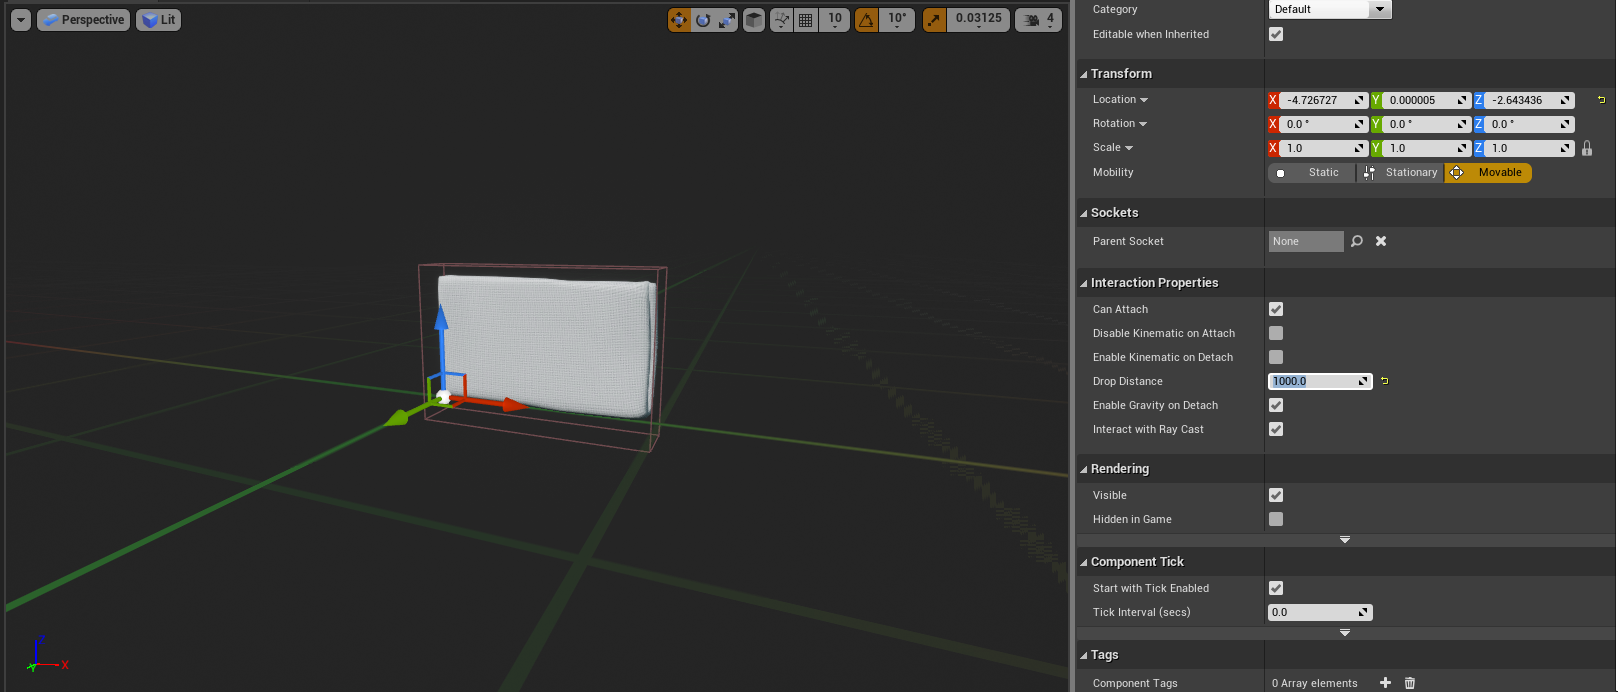
Note
On the ‘Mages Interactable Item’ component go to Details panel -> Interaction properties -> Drop Distance and modify the value to a higher one (e.g. 1000)
Afterwards select the mesh component (root) and add the tag “Rotatable”

Finally, compile and save your actor blueprint and put it inside the level
Adjust its position to where you want it to be spawned and then through the details panel navigate to trasform saver and on the Orama VR tab click Save Transform.
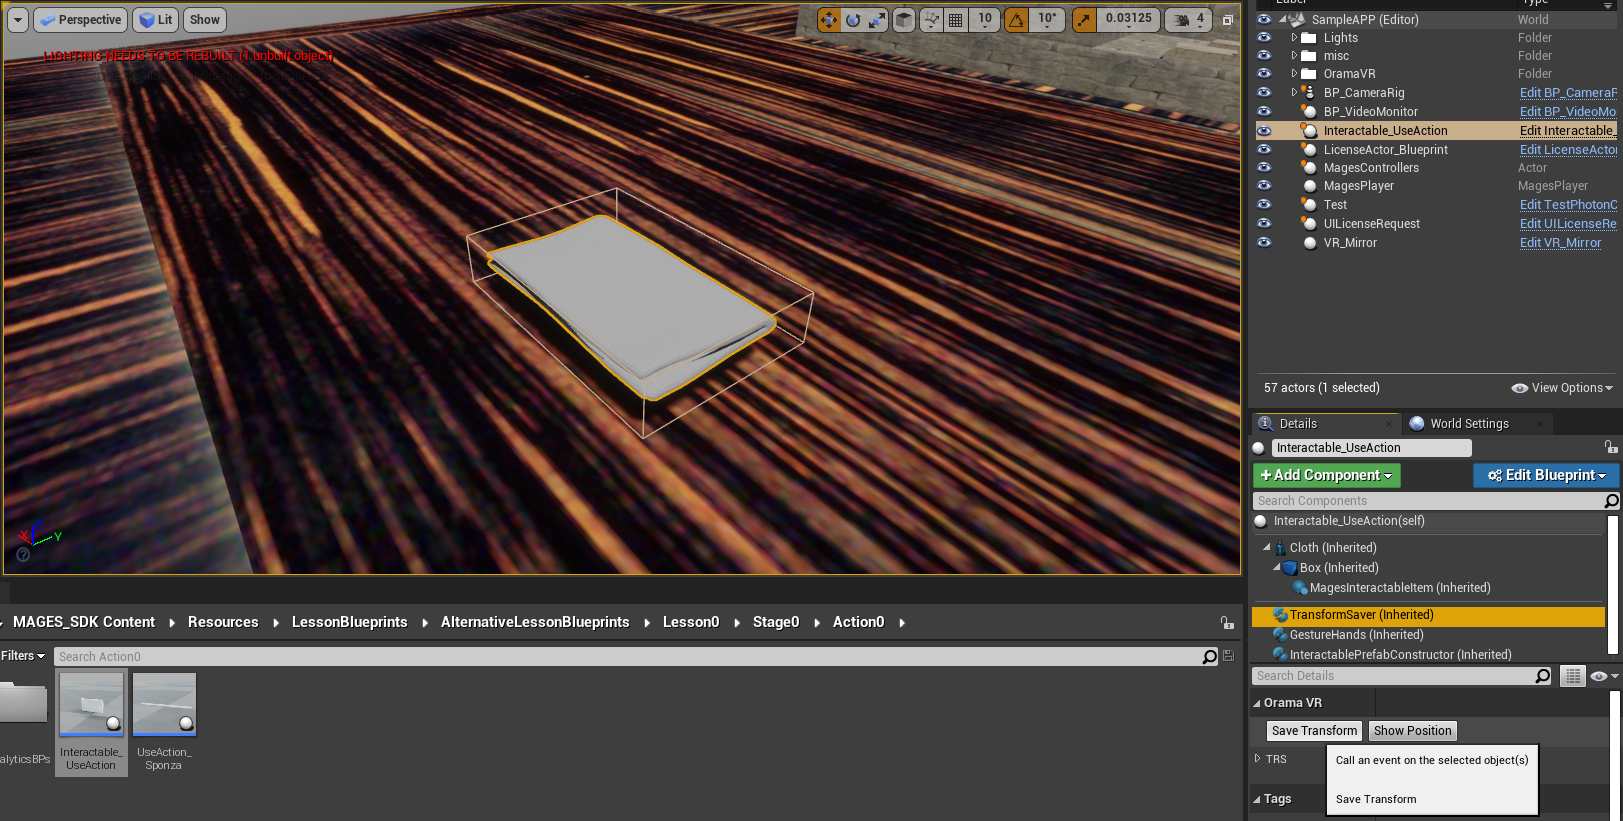
Once done, click Edit blueprint -> Apply Instance Changes To Blueprint and save the actor again

Use With Tool
In this case, we will use the cauterizer on a specific collider on top of Sponza.
Use Collider
We will generate a new actor, with a box collision component (the BurnMarkSprite is only use for visual feedback; it does not factor into the action itself) and the UseColliderPrefabConstructor:
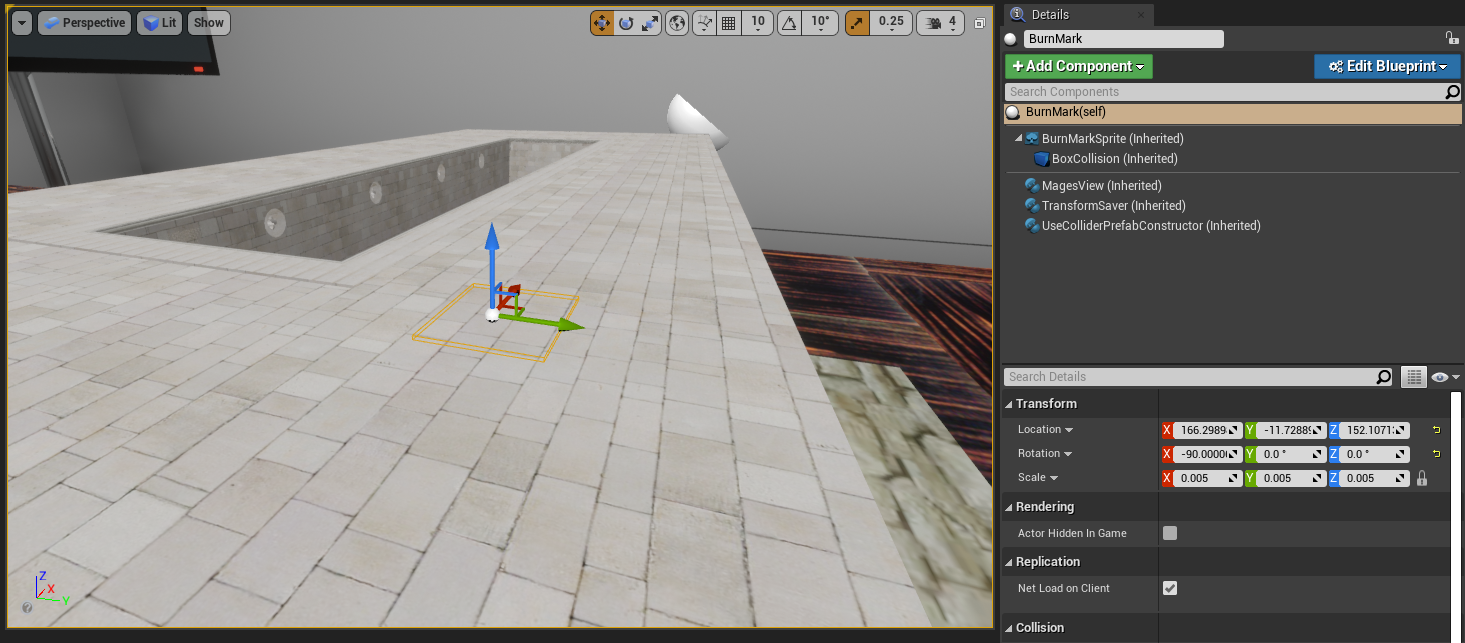
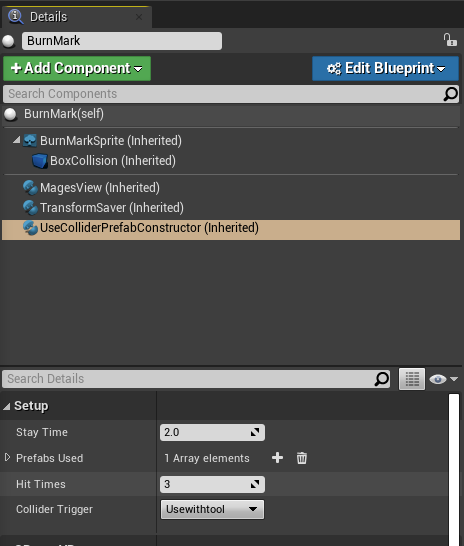
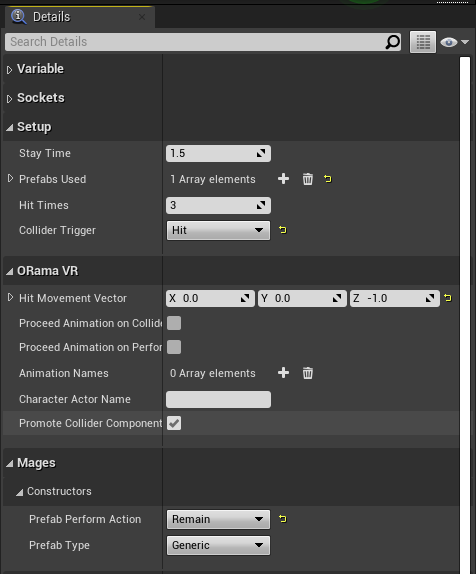
In the UseColliderPrefabConstructor component’s properties (in the details panel), set the Collider Trigger property to “Usewithtool”. The Stay Time property designates how long the tool has to interact with the item in order for the action to be completed.
Next up, we will create the “Cauterizer” actor. This actor will need:
The
Mages Interactable ItemcomponentThe
Interactable Prefab ConstructorcomponentThe
Gesture Handscomponent
We will also add a Box Collision component to the tip of the cauterizer.
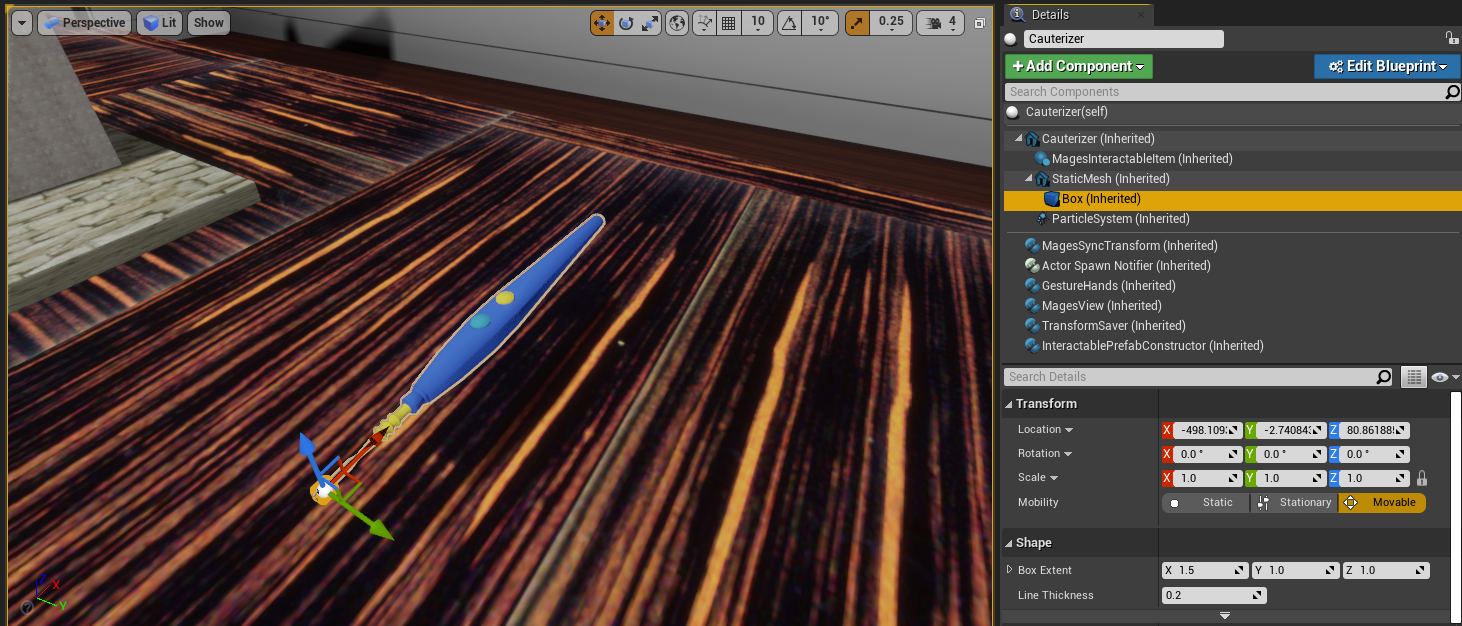
Now that we’ve created our tool, we have to tell the Use actor (on which it will applied), what kind of objects can be applied on to it. Select the Use Collider Prefab Constructor component, and add the newly created tool to the Prefabs Used array property:

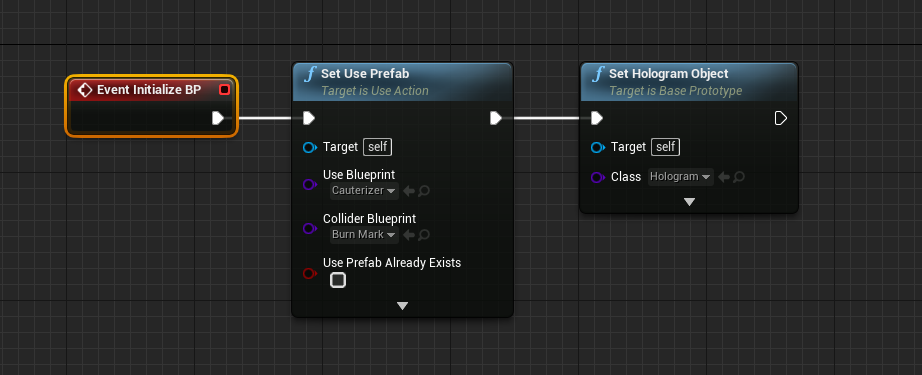
The following blueprint will spawn the necessary actors for this action:
Use With Collision Hit
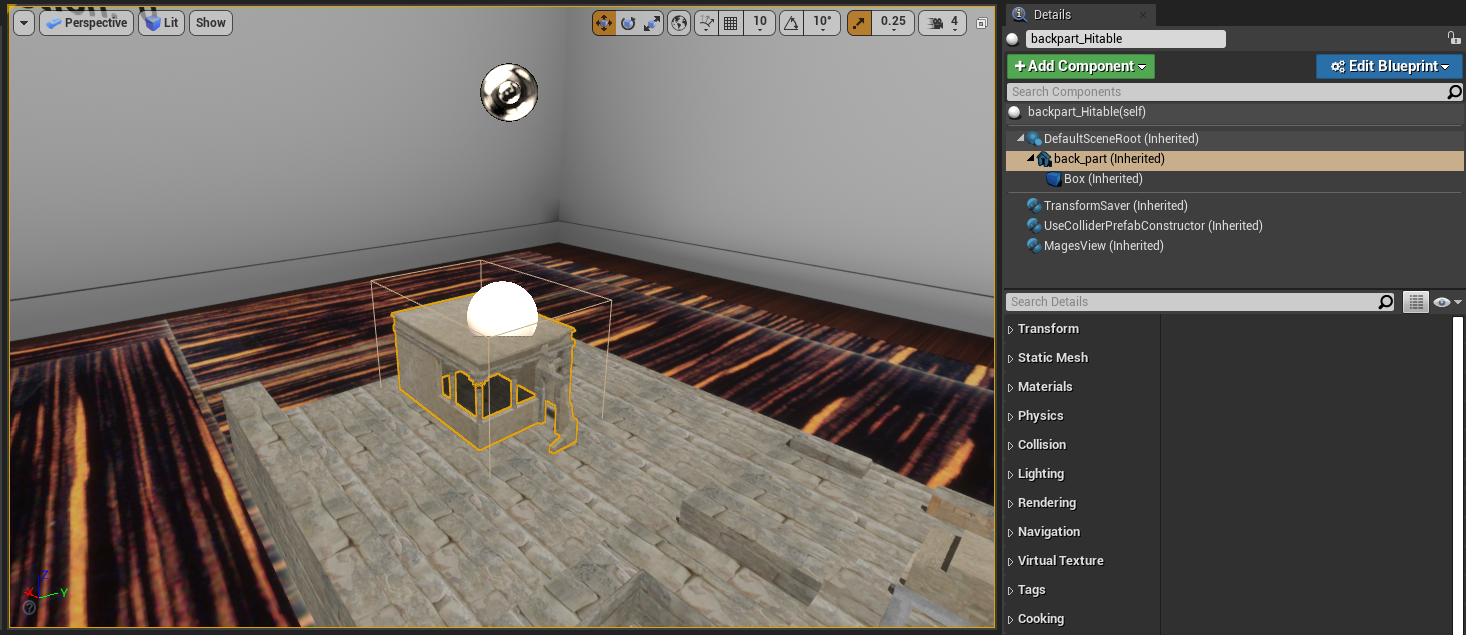
There are cases where you might need the user to hit an interactable using a tool, rather than apply it continuously on the interactable item. We will use a mallet to set-up an action where the user has to hit the back gate into place.
Hit-able Item
We generate an actor with the following components:
The
Transform SavercomponentThe
Use Collider Prefab ConstructorcomponentAnd a collision shape component (in this case, we will use a
Box Collisioncomponent)
To configure this actor so that the user has to hit it with a tool, we change the following properties of the Use Collider Prefab Constructor component, in the details panel:
Set the
Collider Triggerproperty to “Hit”Set the
Hit Timesproperty to however many times the user has to hit the object (in this case we set it to 3)Set the
Hit Movement Vectorto “0.0, 0.0, -1.0”, so that the object will move downwards with each subsequent hit
Note
The hit-able item’s saved transform (applied using the Transform Saver component), should be its final location. The component will automatically offset the object, depending on the Hit Movement Vector and Hit Times properties.
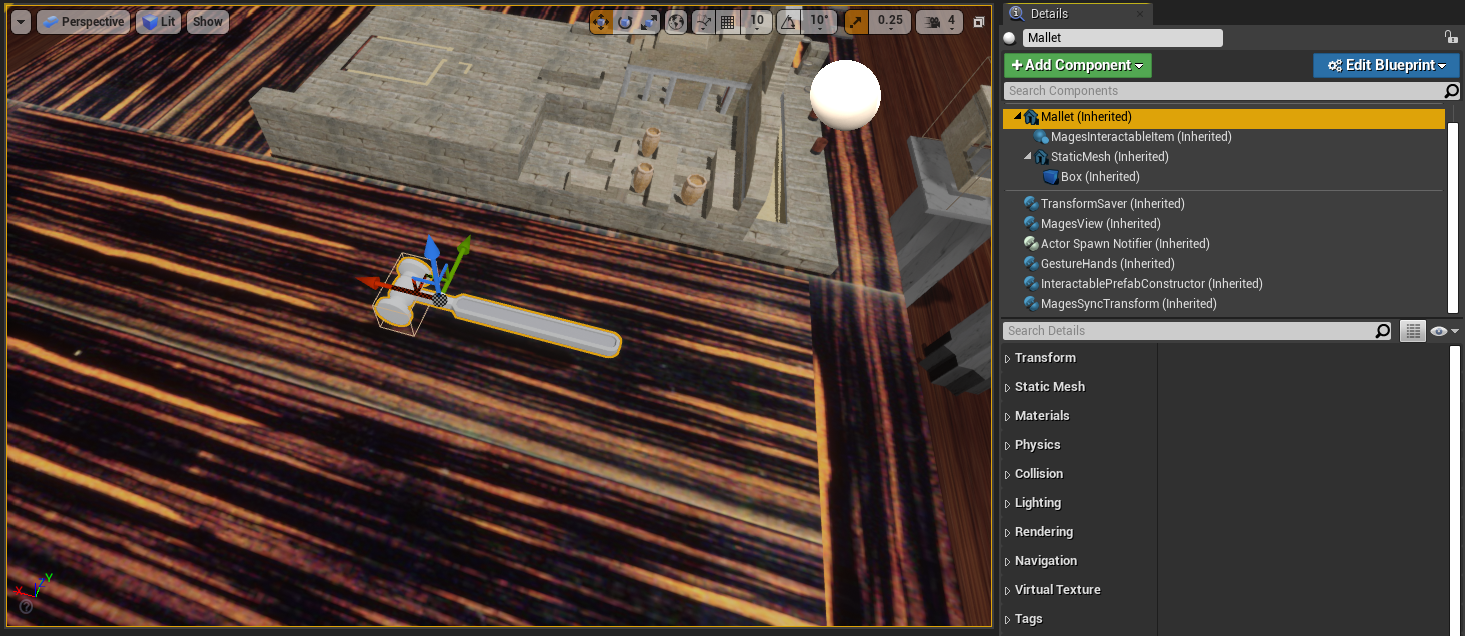
Mallet
To create the tool which will be used to hit the object, create a new actor with the following components:
Transform Savercomponent
Mages Interactable Itemcomponent
Interactable Prefab Constructorcomponent
Gesture HandscomponentA collision shape component; in this case we use a
Box Collisioncomponent
Note
The collision shape component will only be used for striking the hit-able item we created previously, the collision of the Static Mesh Component named “Mallet” will be used for grabbing the tool, since the Mages Interactable Item component is placed under it in the component hierarchy.
Open the Hit-able item’s blueprint and in the Use Collider Prefab Constructor component properties, add the mallet to the Used Prefabs array property:

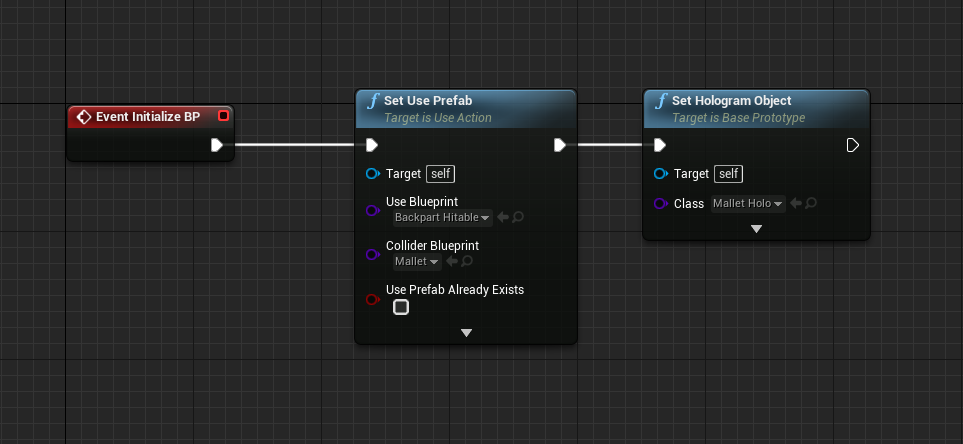
The following blueprint graph will spawn the two actors for this action: