Cut Action
To generate a Cut Action you need the following three prefabs:
The Cut Constructor Prefab
At least one Cuttable Object with the Cuttable Mesh Script attached to them
At least one Cutting Tool/Object with the CuttingBlade or CuttingScissors Script attached to them
Warning
The Cutting Tools need either the CuttingBlade or Scissors attached to them and not the Cutter or else the recording and the action won’t be performed.
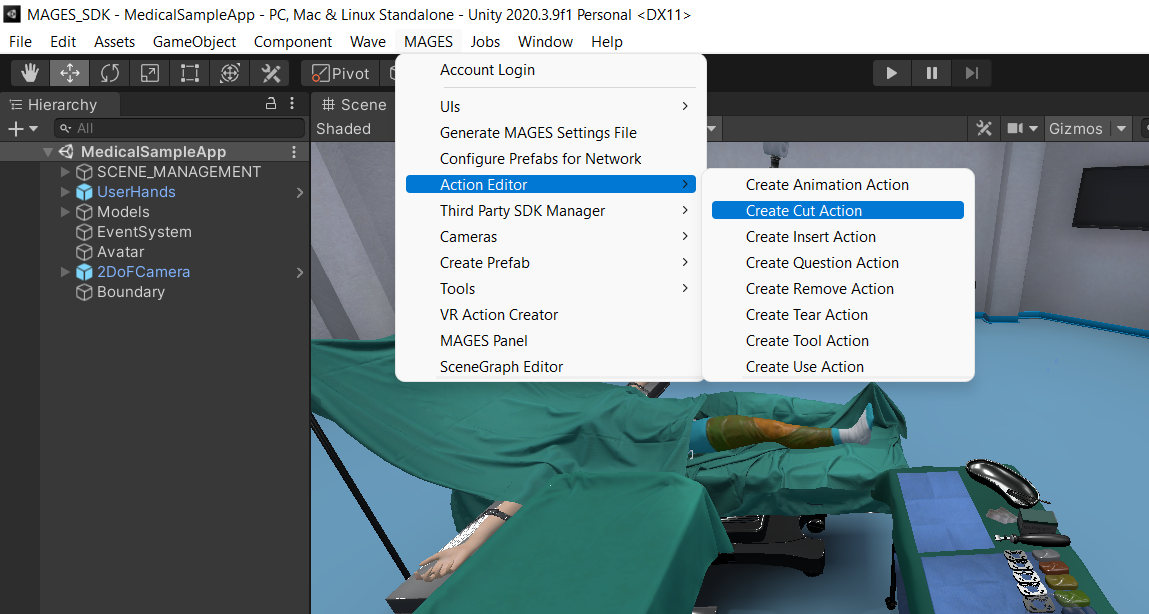
Cut Action Generation
From the MAGES menu select the option Action Editor/Create Cut Action
Then an editor window will appear, with the following fields:
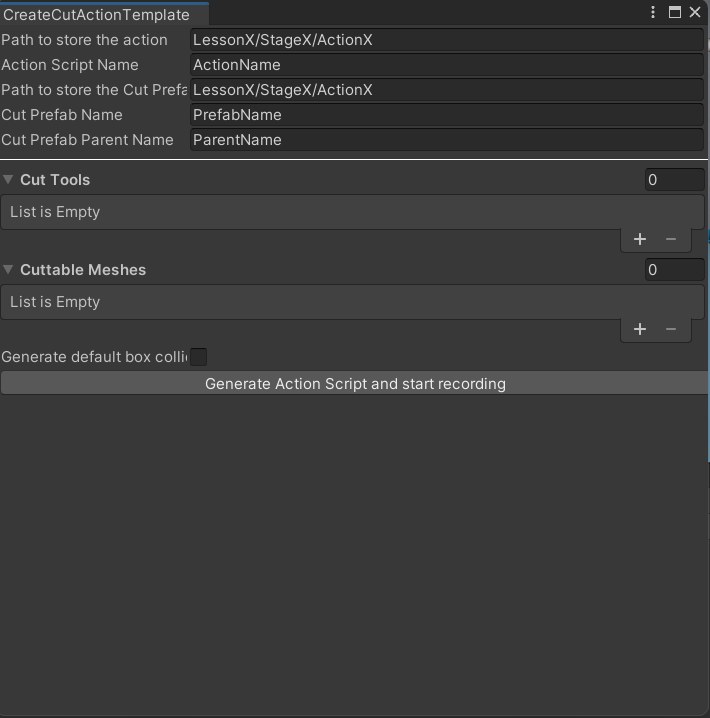
Variable Name |
Type |
Description |
|---|---|---|
Path to Store the Action |
String |
The path that the Cut Action Script will be stored. The path starts from “Assets/MAGES/Operation/ActionScripts/” |
Action Script Name |
String |
The name of the .cs file/The class name |
Path to store the Cut Prefab |
String |
The path that the generated prefab with the Cut Prefab Constructor will be stored. The path starts from “Assets/MAGES/Operation/Resources/LessonPrefabs/” |
Cut Prefab Name |
String |
The name of the generated prefab |
Cut Prefab Parent Name |
String |
The name of the generated prefab’s parent(the name of the cuttable object) |
Cut Tools |
List of GameObjects/Prefabs |
The prefabs that will be used to cut the Cuttable Object |
Cuttable Meshes |
List of GameObjects/Prefabs |
The Cuttable Objects |
Generate default box colliders |
Boolean |
If true, it generates a trigger box collider to the Cuttable prefab |
After having set these fields, you are ready to click on the ‘Generate Action Script and start recording’ button.
When clicked, you will be redirected in the recording scene, in play mode.
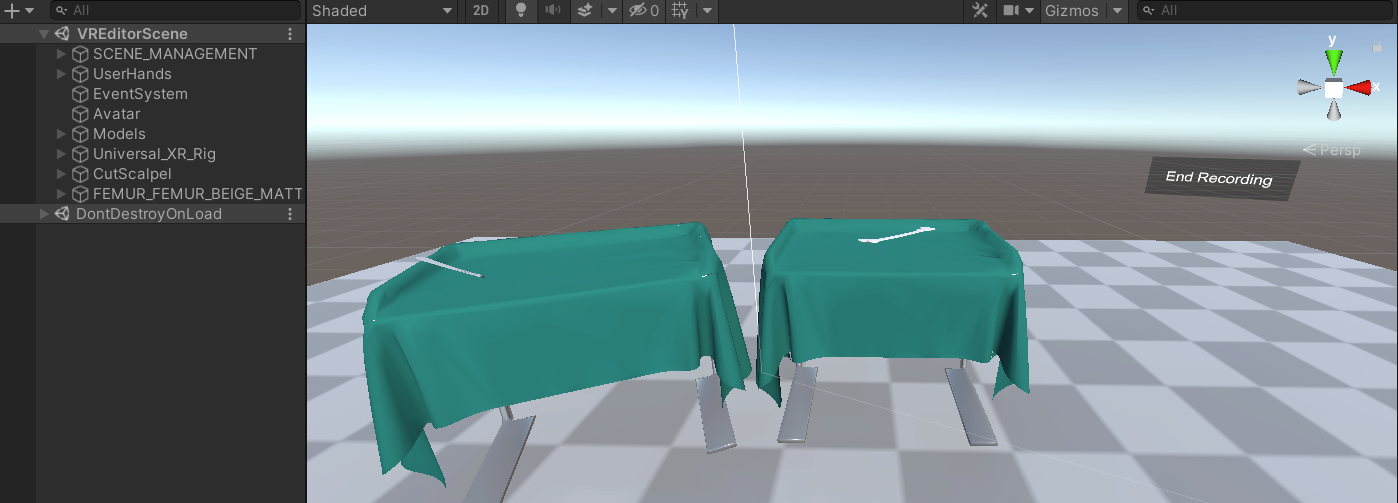
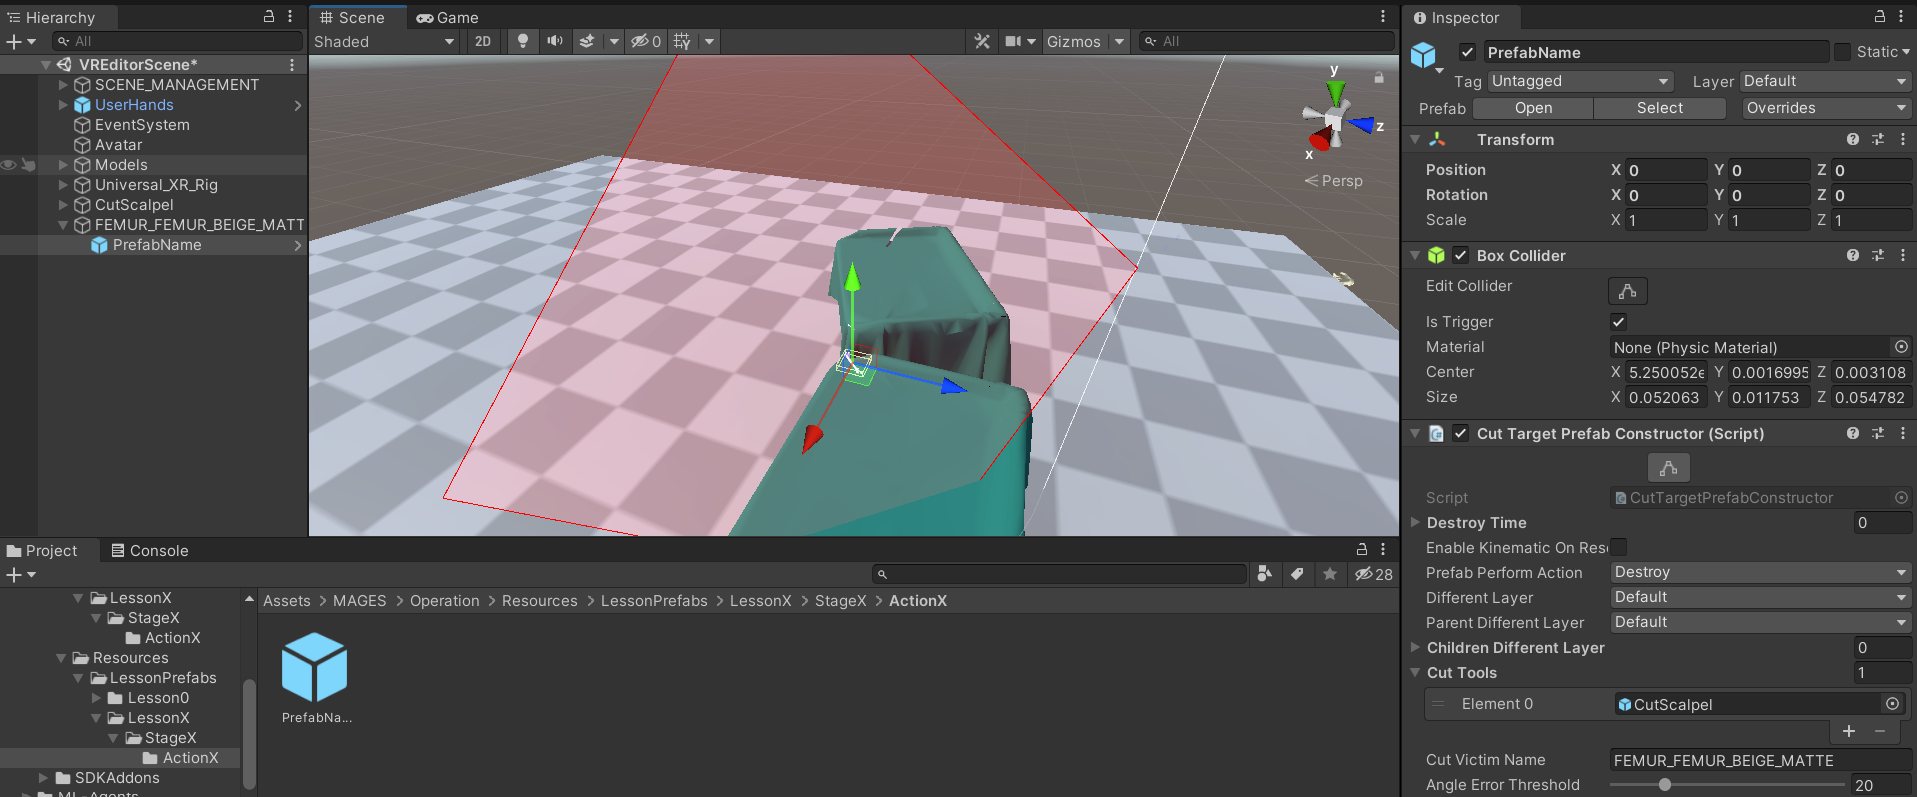
As you can see, the Cut Tool and The Cuttable Object are spawned on the two tables and there’s an End Recording Button. So in order to complete the recording, we grab the tool and perform the cut and press the button.
After finishing the recording, if we navigate to the paths we added in the editor window, we can see the exported Action script and the exported Cut Prefab with its fields already setup with the information from the recording.
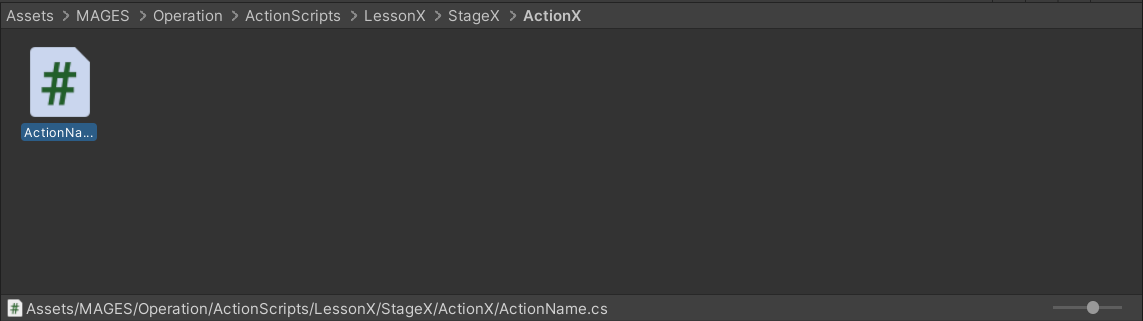
public class ActionName : CutAction
{
    public override void Initialize()
    {
        SetCutPrefabs("LessonX/StageX/ActionX/PrefabName", "ParentName");


        base.Initialize();
    }
}
However, you can edit both script and prefab to match your needs, maybe by adding more cut tools to the prefab and spawning them through the action script, or editing the plane.
Custom Cutting Tool Creation
Let’s see how to create a custom cutting tool, using the Cutting Scalpel as an example.
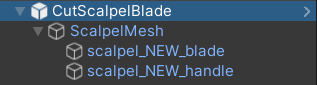
The scalpel’s root is an empty GameObject which consists of two child GameObjects that represent the handle and the blade.
The parent GameObject in order for the Cutting tool to work correctly, needs the following Components:
The Mages Interactable Item Script, which allows you to grab the tool
A rigidbody
A handposer, so you can define the pose that the tool will be held (Optional)
The Cutting Blade script, which defines the area which the tool is going to use to cut objects
Here’s how you define the area in the Cutting Blade script:
Drop the tool into a scene and then go to the Cutting Blade script that’s attached to your tool and click the edit button
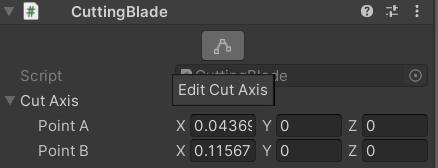
Then, with Gizmos enabled, you can position the two points(Point A, Point B) to define your cutting area
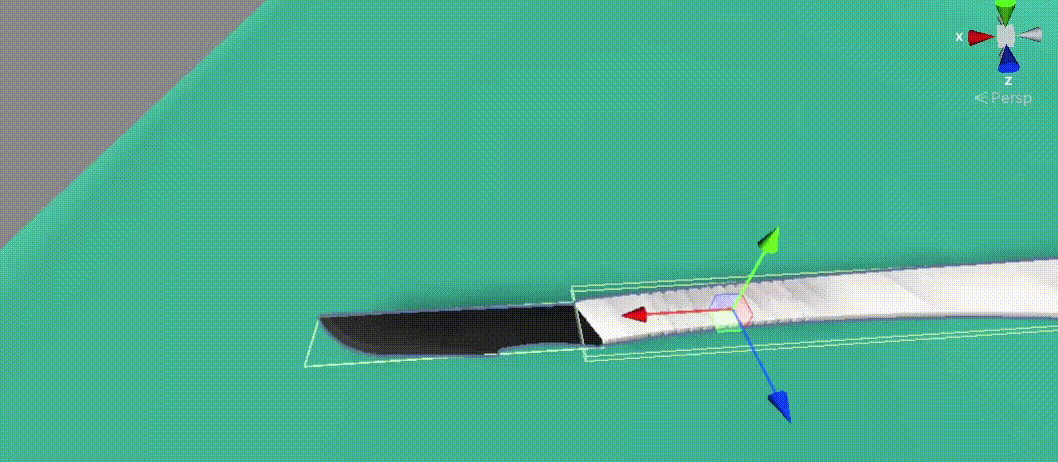
For the children GameObjects, you just need a non-trigger collider for the handle and a trigger collider for the blade.
Add the Action to Scenegraph
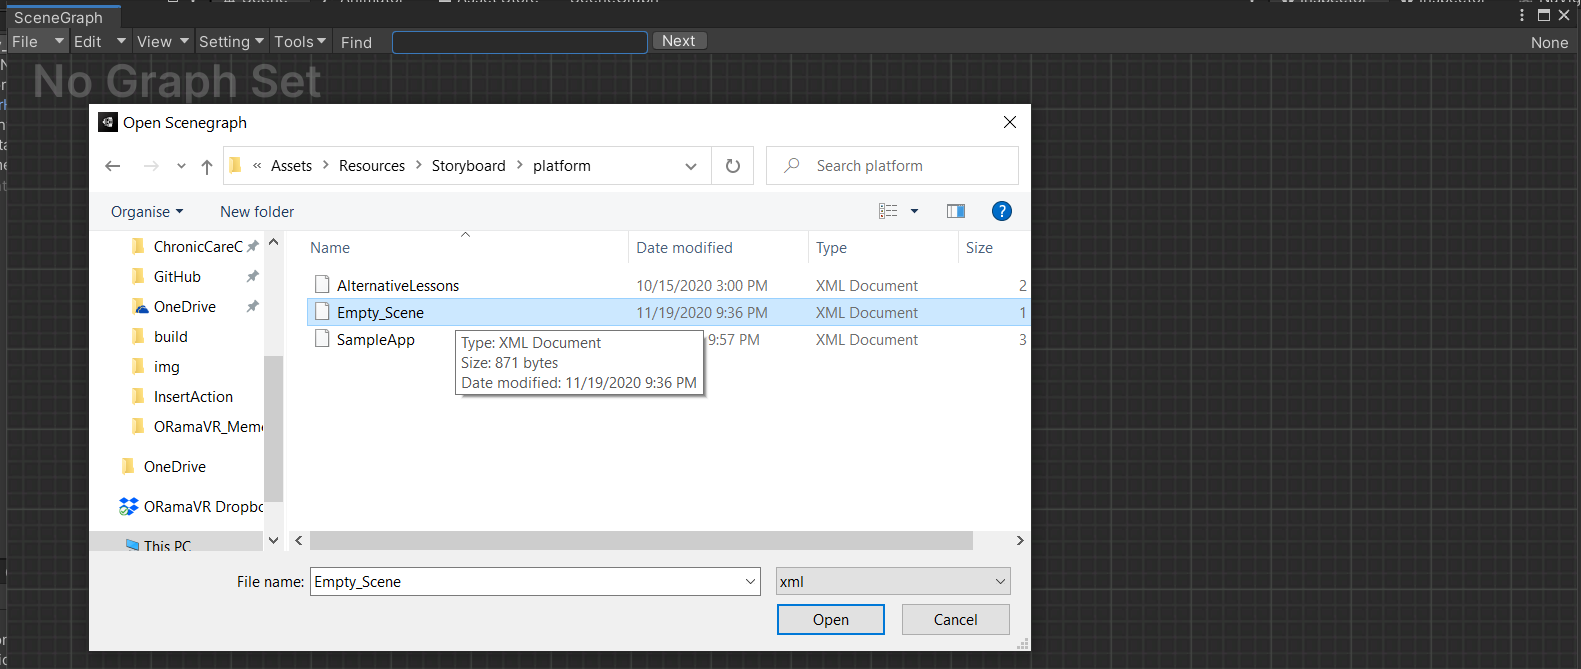
The final step is to link the ActionScript to the scenegraph. From the MAGES menu click Scenegraph Editor. At the Scenegraph Editor tab, click File/Load and the proper .xml import the scenegraph. In this case is the Empty_Scene.xml.
To add a new Action Node right click inside the Scenegraph Editor and select “Action Node”. Fill the Action description, along with the proper NodeID (in this case is the second Action) Finally, add the reference of the Action script.

From the Scenegraph Editor menu, click File/Save to save your changes.