Insert Action
To generate an Insert Action you need the following three blueprint actors:
A grabbable actor
Its final position
A hologram indicating the final position
Interactable Actor
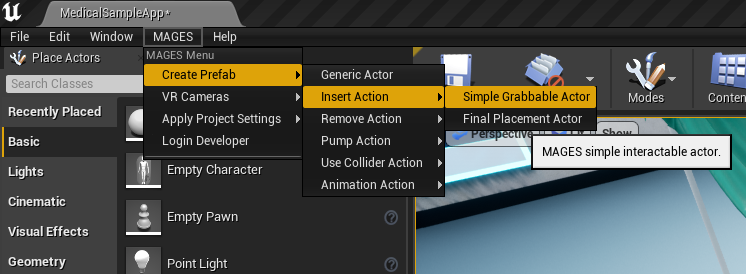
From the MAGES menu select the option Create Prefab/Insert Action/Simple Grabbable Actor
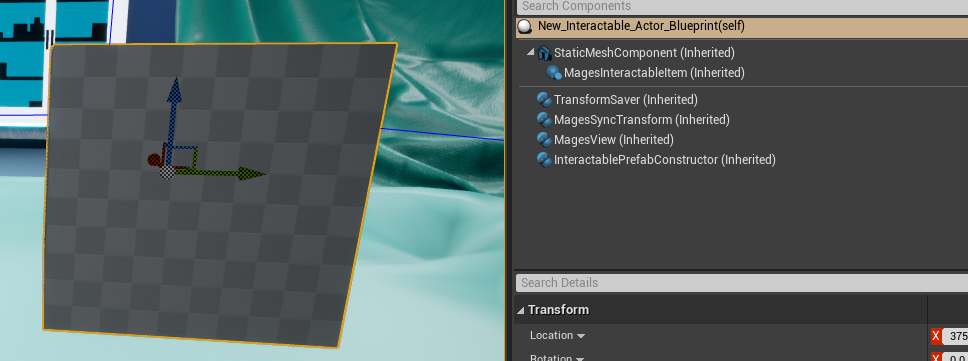
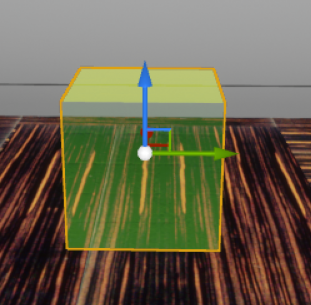
The template actor for the interactable object will appear. It is recommended to use this object as the root and starting point of your grabbable actor. In the actor’s components you will find its static mesh component, there you can add its static mesh. Below you can see the final result.
Note
Keep in mind that unreal might not refresh your mesh in the editor immediately. In order to force a refresh you can create a blueprint using this instance.
Remember to add colliders to the object as you need to grab it, and to configure its collision properties otherwise it will pass through the table.
The next step is optional but recommended for a more natural interaction.
We need to configure hand postures when interacting with a grabbable object. You can read here a detailed tutorial on how to properly setup hand postures.
Final Prefab
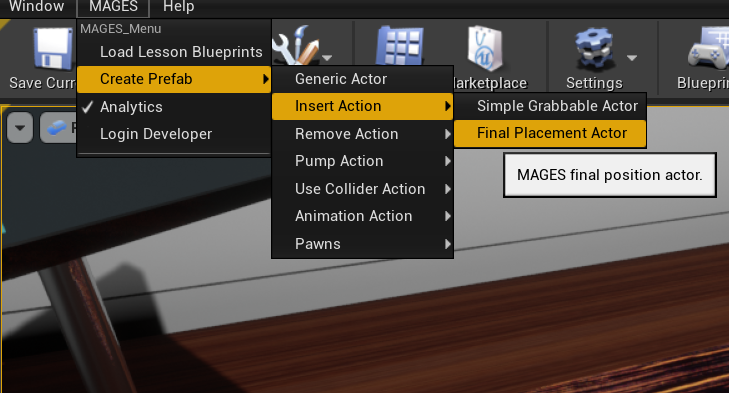
The next step is to generate the final placement actor. This indicates the correct position and the orientation of the object. In a similar way, we navigate to the MAGES menu and click the Create Prefab/Insert Action/Final Placement Actor.
Warning
The Final prefab must have the same pivot with the interactable actor because the PrefabLerpPlacement script checks if the orientation (position and rotation) of the objects match to perform the Action.
For this reason, the safest way to generate the final prefab is to duplicate the interactable, copy the transform of its root, paste it on the final prefab template and transfer its children to the final prefab.
Remember to disable all Collisions and enable the Generate overlap events field.
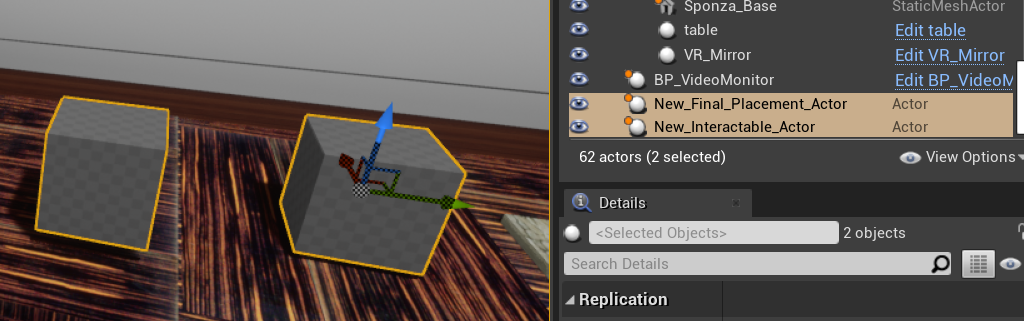
The image below shows both the interactable (left) and the final prefab (right).
Hologram Actor
The hologram actor only needs the transform saver component and the MagesView component (for multiplayer support). It is just a copy of the final placement actor with the holographic material. Remember to remove its colliders as well.
Save prefabs and final configuration
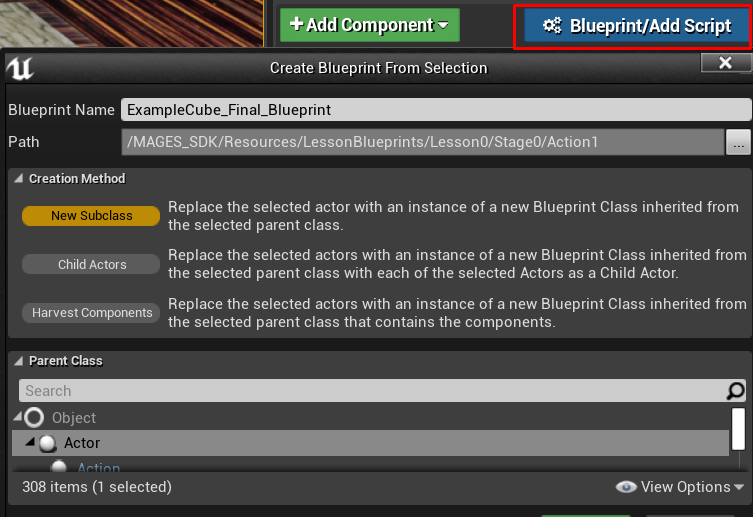
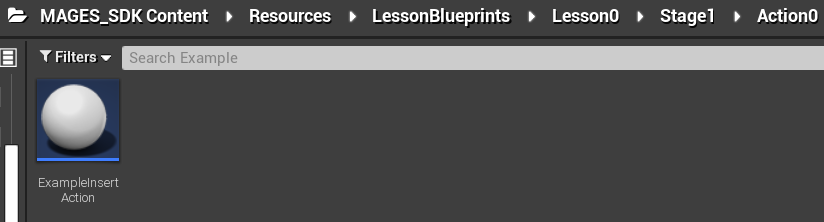
Now we need to save the actor’s transform in order to spawn it at that location and orientation. Once we’ve placed all actors in the decired position we select the Transform Saver component on each of them and click Save Transform. Then we create a blueprint class based on that specific actor, by clicking the Blueprint/Add Script button. It is recommended to keep the action actors in folders according to the scenegraph structure. In this case we will save the interactable, final and hologram prefab at Lesson0/Stage1/Action0 folder.

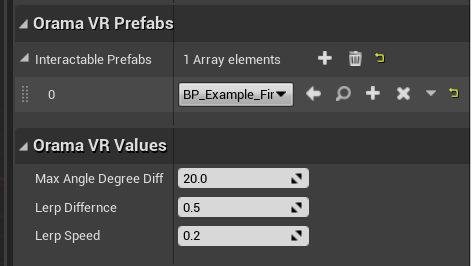
The final step is to configure the PrefabLerpPlacement component which is attached to our final actor. This component indicates the interactable prefab that matches with this final placement actor. Additionally, you can setup properties like the tolerance in angle difference with the interactable or setup the lerping behaviour. The image below shows the interactable along linked with the PrefabLerpPlacement component.
Action Blueprint
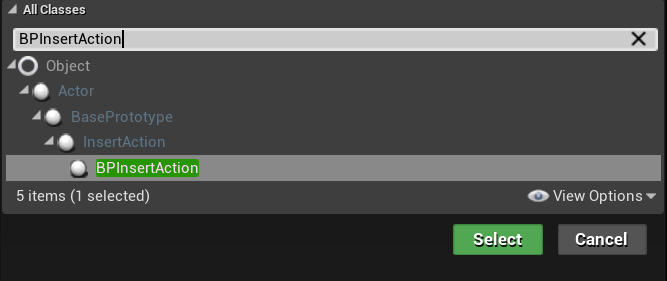
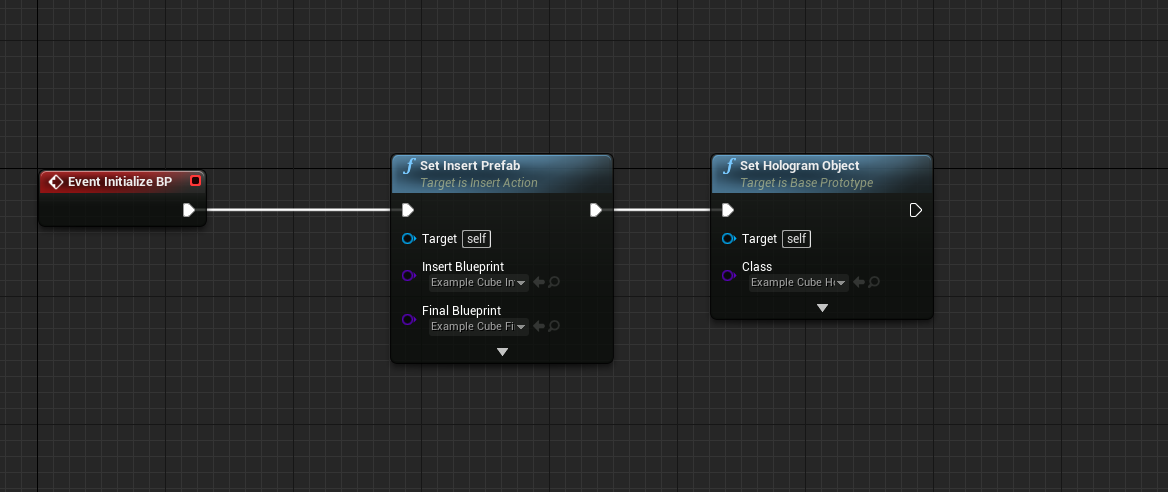
In this step we will create the Insert Action Blueprint. Create a new blueprint that inherits from BPInsertAction class. We save the Action bleuprint in a path similar to the scenegraph structure, in this case Lesson0/Stage1/Action0.
The blueprint nodes can be seen below. It initializes our grabbable and final actor and spawn the hologram actor as well.
Add the Action to Scenegraph
Finally, we need to link our newly created action with scenegraph. You can read the detailed tutorial on this procedure in the scenegraph tutorial.