VR Annotations
The VR Annotations are responsible for creating static or object-following Annotation Labels with ease.
How To
In this tutorial we will explain how to use the VRAnnotator and how to create standalone Annotation Labels using the AnnotationLabel script.
Use the Default Annotator Prefab
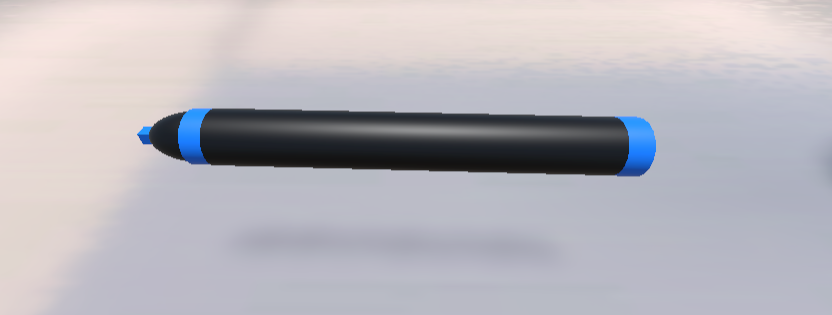
In the folder Packages/com.oramavr.mages/Runtime/MAGES/SDKAddons/VRAnnotations/Prefabs you can find the AnnotationMarker.prefab.
Note
The Packages folder is in the same level as the Assets folder. An easy way to locate the AnnotationMarker.prefab would be to use the search function of Unity, located in the Project tab. (You may have to click the “All” tag after your search in order to locate the prefab.)
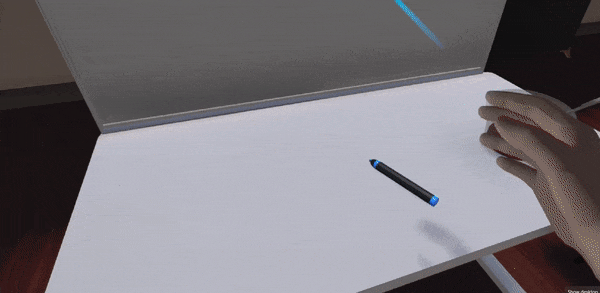
To use it just drop it in your scene, or if you are creating an Operation, spawn it from its action scripts.
Below we describe the main functionalities of the marker:
Create new static Annotation
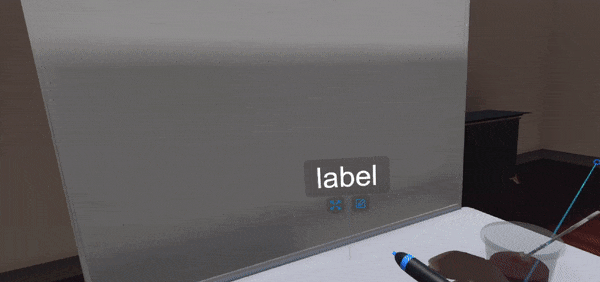
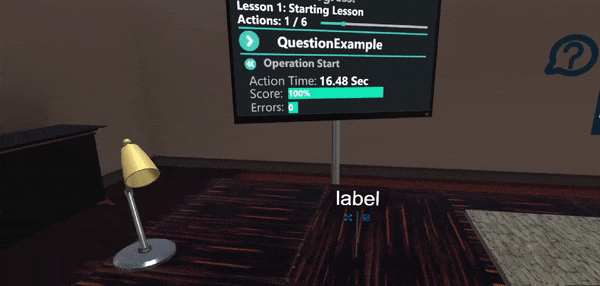
Take the marker and press the trigger button. Then with the raycast, click the text area and type your label. Press the “Save” button to save the label.
Reposition the Annotation
With the marker, touch the reposition icon and press the trigger button. Then to release the Annotation press the trigger button again.
Edit the Annotation text
With the marker, touch the edit icon and press the trigger button. Then with the raycast, click the text area and type your label. Press the “Save” button to save the label.
Hide the Annotation
With the marker, touch the edit icon and press the trigger button. Then with the raycast, click the hide button. To un-hide click again the hide icon.
Delete the Annotation
With the marker, touch the edit icon and press the trigger button. Then with the raycast, click the delete button.
Create new object-following Annotation
If the Annotation Marker’s tip was inside a grabbable object (non-static object in the GrabbablePrefabs Layer) the label will move with the prefab. Otherwise, the label will be in a static world position, at the spawned place.
Note
Buttons outside of the Annotation Editor are pressed using the marker, moving it to a close distance (the button gets highlighted) and then pressing it with the trigger on your controller.
Buttons inside the editor are standard UI buttons and can be used with the raycast.
Create a Custom Annotator
In order to create a custom Annotator similar to the marker above, you need to follow these steps:
In the GameObject you want to be your Annotator attach a collider and make it trigger. This is needed because the script needs to check the
void OnTriggerEnter()andOnTriggerExit()to determine whether the label to be spawned is attached to a grabbable prefab, and therefore will move with it, or not.In the same GameObject attach the VRAnnotator script. This script will be initialized with default values for the LabelSpawnPoint(The transform of the same Attached GameObject) and the LabelRotationMethod(AutoHorizontal). You can change these values now. The LabelSpawnPoint field signifies the point at which the labels will be spawned and also clamped when you are moving them. The LabelRotationMethod field is the setting for the rotation of the labels. If set to AutoHorizontal the labels once created and done editing will rotate automatically around the local y axis to always face the camera head. If set to Initial
Note
Keep in mind that when attaching the VRAnnotator script the tag of the attached GameObject will be changed to AnnotationMarker. It needs to stay that way in order for the Annotator to work.
The Annotator now works by grabbing it and pressing the trigger button.
Note
Note that it is not possible to change the label that the annotator spawns. If you want to make appearance changes to that simply edit the Label prefab, located in the package.
Create a Standalone Label in the Editor
With the MAGES Annotation System it is easy to create a Label in the Editor and make it a scenery component. Simply Drag and Drop the StandaloneLabel Prefab in your scene, from the folder Packages/com.oramavr.mages/Runtime/MAGES/SDKAddons/VRAnnotations/Prefabs. Find the child Text in the StandaloneLabel > DisplaysOrigin > DefaultLabel > Canvas > Label GameObject in hierarchy. You can edit the text component on this GameObject to edit the Annotation Label’s Display Text.
Note
You can make the Label follow a transform, by simply assigning it to the inspector field
Transform transformParentand setting the enumPlacementMethods placementMethodto Parent Transform Follow.You can also select the RotationMethod of the Label by setting the
RotationMethods rotationMethodfield in the inspector to Auto Horizontal to always look at the camera or Initial Rotation to not rotate at all.