HandPoser
In this tutorial we will learn how to set up the Hand Poser for an interactable prefab.
Hand Poser is a mechanic contained in the MAGESPhysics module which enables grabbing objects with a specific hand posture. With the Hand Poser tool, developers can configure predefined hand postures for each object or even set more than one posture per object if needed.
It is used to interact with the physical object with an intuitive way. It is not mandatory to include it in your simulation but highly recommended for a realistic interaction system.
How to Configure Hand Poser
The first step is to Add the HandPoser component to your object.
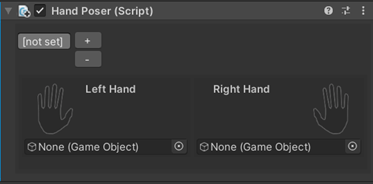
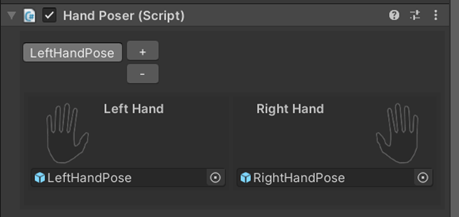
This component contains two input fields for Unity prefabs, one posture per hand. To generate the postures is recommended to take an already made posture from the MAGES SDK and modify it to your needs. This posture is nothing but the hand prefab without any component attached.
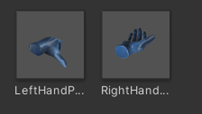
Below there is an example of the left and right hands attached to our object. We will use those prefabs to save the postures for this object.
Since the left and right hands are mirrored, to generate the right hand we are inverting its y scale by assigning -1.
Warning
The scale of the interactable object should be (1,1,1), otherwise the poses will be affected from the non-uniform scale values.
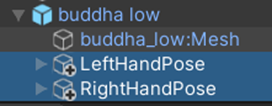
The next step is to save the postures you generated. Both postures should be children of your object, otherwise the poser will not work properly. Drag and drop the poses from your prefab to your assets to save posture prefab.
Below you can see the hierarchy of the Buddha model and the two postures as children.
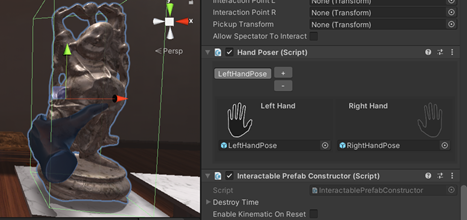
Finally, we need to link the postures to the HandPoser component. Simply drag and drop the prefabs from your assets to the HandPoser at the object input holders (one per hand).
By pressing the hand icon on each side, the posture will be spawned on the object. In this way you can verify if the postures are implemented correctly.
Note
However, remember to delete those spawned postures by pressing again the hand icon, otherwise they will be visible once the object will be instantiated.
Configure Multiple Postures for an Object
Specific objects can be grabbed in multiple ways. For this reason, Hand Poser supports the configuration of multiple postures.
To enable this feature, from the HandPoser script press the “+” button on the top left, in this way more postures can be added.
Each posture has a pair of hands (left and right). To delete a pair of postures select it and press the “-“ button.
Note
If an object has more than one postures, the poser calculates the distance of the player’s hands related to the object to enable the most suitable posture (distance based).
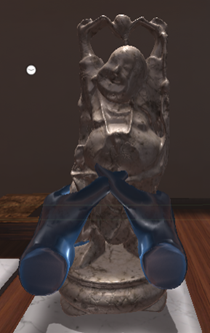
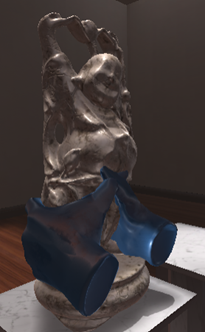
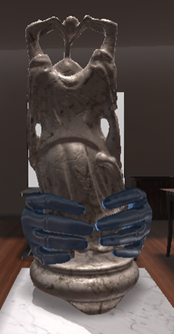
Example of multiple postures on an object:
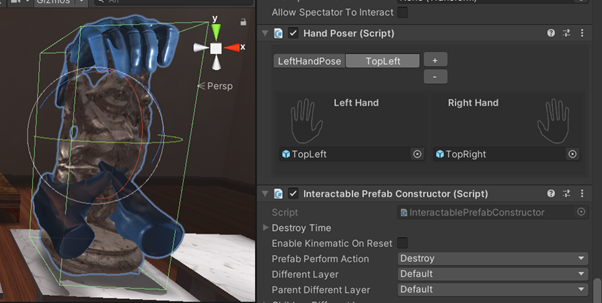
In this case we have a pair of poses at the bottom of the statuette and another pair at the top. The hand poser will select the more suitable pose at the beginning of the interaction.
Automatic Grasp Generation
In order to save time and effort spent on this task, we developed a feature to automate this procedure. When there is no need for a precise hand posture, but a realistic grasping is still needed, this option could be a decent solution.
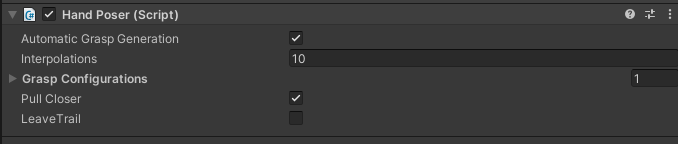
On hand poser editor there’s an option for automatic grasp generation, if toggled real-time hand pose estimation will be enabled.
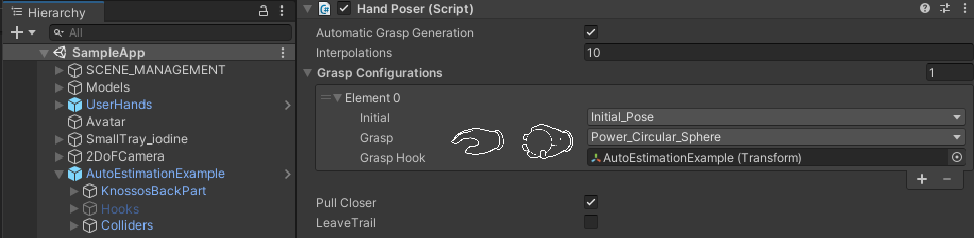
The implementation is imitating the human intuitive way of grasping. Human brain classifies objects according to shared features into certain grips. In order to replicate this, we have two sets of poses to choose accordingly and achieve a better result, one containing the initial hand poses and the other the final grips.
Objects often have abstract shapes. When setting up this type of object you’ll have to define different spots, or else hooks, with different final grips. First, you’ll create an empty game object which will be the hook for a particular area. Finally, you will choose a corresponding grip for the hook, which will be applied when trying to grasp an object from all the points near to it.
Following the same steps you can have only one final grip for object by just adding at the grasp configuration only one hook, and that would be the pivot of your object.
Interpolations A certain number of interpolations between the initial and final poses is computed. For each interpolation, collisions between bones and target objects are checked. The larger the number the more collision checks you’ll have.
Warning
The number of interpolations influences the performance. A minimum of 10 interpolations is required in order to avoid problems. Indeed, if the interpolations are not enough, mesh penetration issues can arise because collisions are detected with a too noticeable delay.
Pull Closer The interactable item is pulled towards the grasp center when trying to grab it from an unreasonable distance.
Leave Trail When it’s on, it leaves a temporary trail, only when running from inside the editor, and you can see the closest interactable point detected and change your colliders accordingly to have a more accurate hand lock.
Note
Automatic hand pose estimation functionality is based on the proper colliders’ setup of the interactable item. That’s because collision detection is tracked using rigid bodies and bounds. Using primitive colliders improves performance, but possibly they won’t fit perfectly with the shape of the object. In order to detect unwanted collisions, you can use this option for debug in such cases.