SampleApp
Loading the Scene
After you have successfully imported the package, from the Project file structure in the Unity Editor navigate to Assets/ovidVRcomp/Operation/Scenes and open the SampleApp scene.
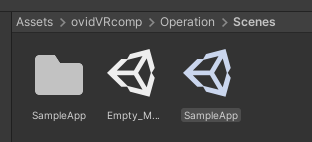
Note
The default camera is set to 2DoF mode to run the application using mouse and keyboard.
Adding VR Support
To configure the application for VR support, from the MAGES tab click Third Party SDK Manager/Initialized Prefabs and select the camera depending on your headset.
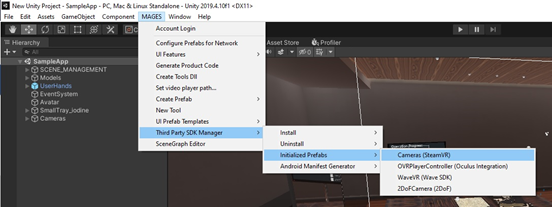
The supported cameras are the following:
SteamVR (for SteamVR supported headsets)
Oculus Camera (for Oculus Quest)
Wave VR (for VIVE focus)
To enable VR mode, make sure to install the required SDKs according to your headset.
Navigate to MAGES/Third Party SDK Manager/Install to download and install the SDKs automatically.

SDK License
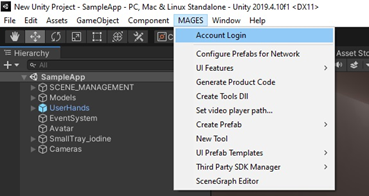
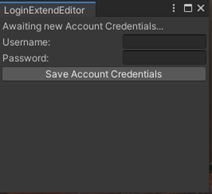
Before you hit the Play button, make sure you have checked out a valid SDK license. To do so, open the MAGES tab on the top menu and click on the Account Login option.
Controls & Movement
In the table below you can find the controls for every supported platform and headset.
Oculus Touch |
VIVE |
Windows Mixed Reality |
2DoF Desktop |
|
|---|---|---|---|---|
Grabbing Objects |
Grip Button |
Grip Button |
Grip Button |
|
UI Selection & Usage of Tools |
Trigger Button |
Trigger Button |
Trigger Button |
|
Toggle Movement |
Press Left Touch Thumbstick |
Left Menu Button |
Right Menu Button |
|
Positional/Rotational Movement |
Left/Right Touch Thumbstick |
Left/Right Trackpad |
Left/Right Thumbstick |
Mouse and Keyboard (W,A,S,D) |
Toggle In-game Options |
Press Right Touch Thumbstick |
Right Menu Button |
Right Menu Button |
|
Next/Previous Step |
X,Z Keyboard Button |
X,Z Keyboard Button |
X,Z Keyboard Button |
X,Z Keyboard Button |
Multiplayer setup with Photon
MAGES SDK supports Photon networking as the default networking API. For cooperation/multiplayer mode you need to setup Photon (playing in the same room with other players).
First, you need to create an account at Photon.
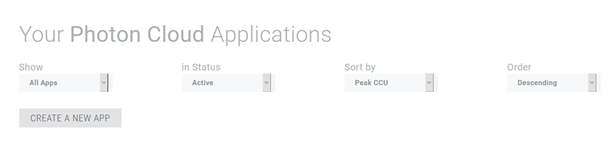
After successful registration, go to the Photon Dashboard and click the CREATE A NEW APP button.
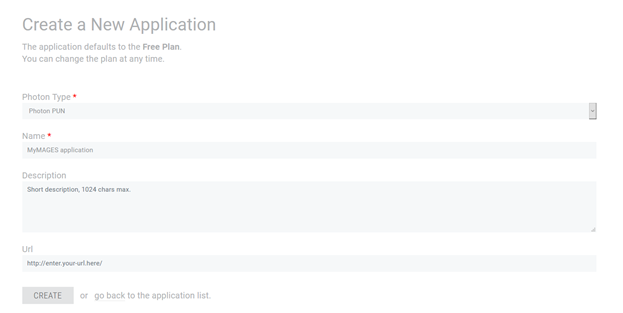
Select Photon PUN from the Photon type dropdown, give a name to your application and click the CREATE button.
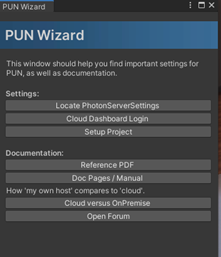
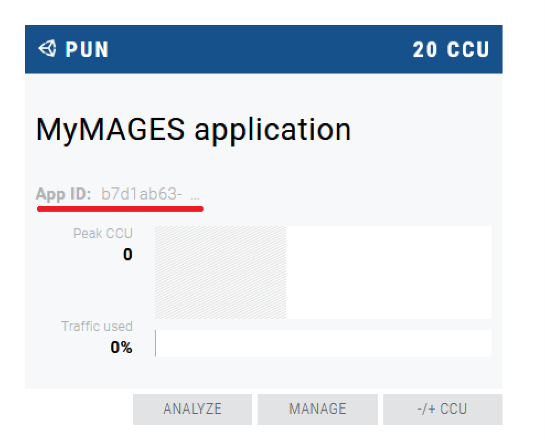
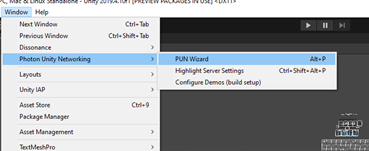
Navigate back to the main dashboard page and you will see your new PUN application. You need to copy the App ID. Open the Unity project and from the top bar go to Windows/Photon Unity Networking/PUN Wizard.
Note
Click the code next to the App ID to reveal the full key.
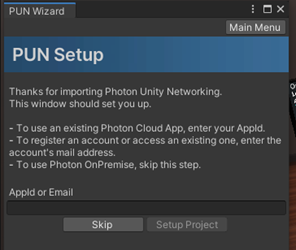
Click Setup Project, paste your App ID at the Appid or Email field and click Setup Project.