Build Instructions
In this section we describe the process of packaging a MAGES enabled project. To produce a packaged application, you will need to:
Select the startup level
Setup the project’s packaging settings; which assets to cook
Packaging Settings
Open the Project Settings window, navigate to the Packaging section, and click at the end of the section to show advanced options.
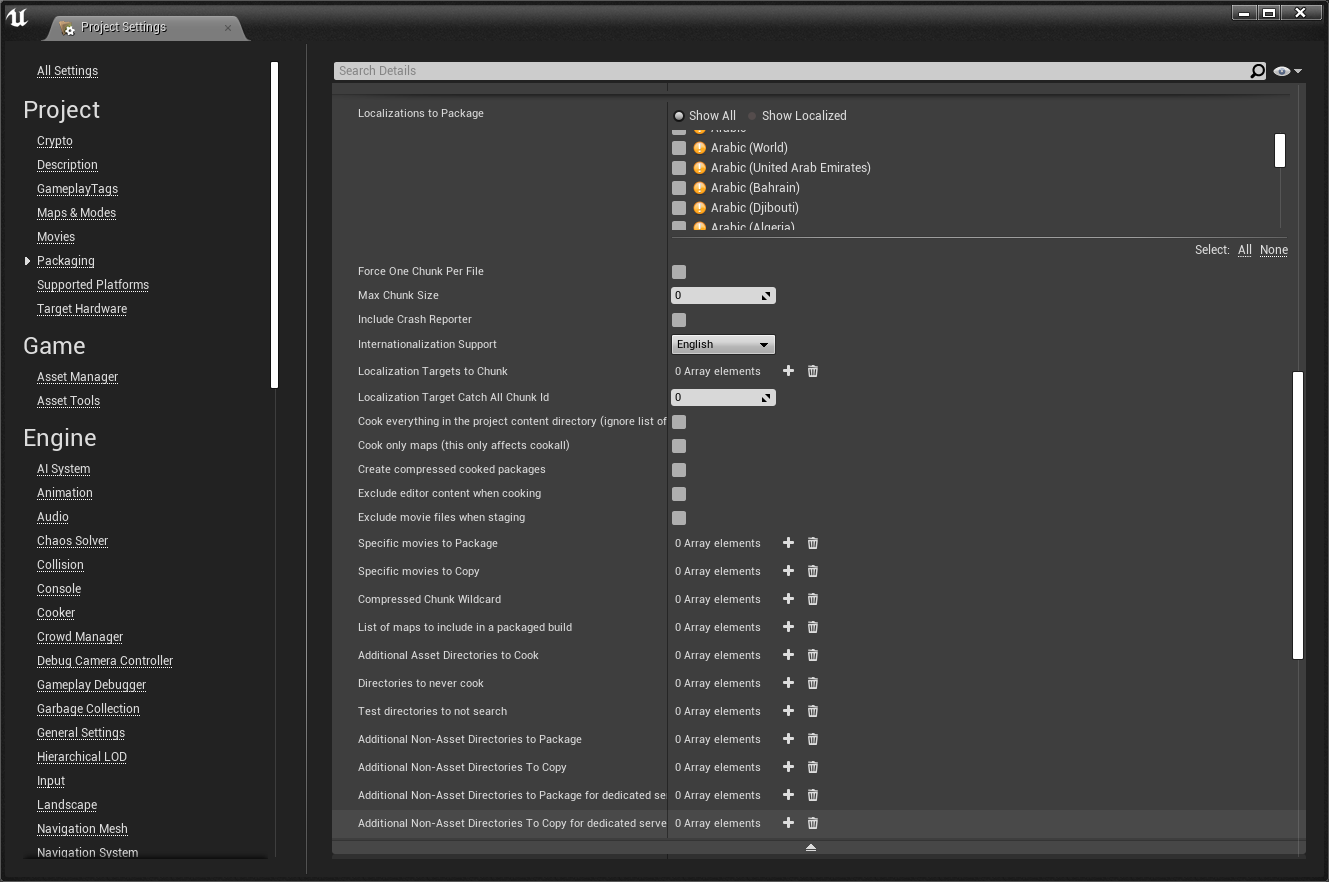
- For the
Additional Asset Directories to Cooksetting, you will need to add the following directories: The MAGESres plugin directory “/MAGES_SDK/Resources/MAGESres”
The directory where the action blueprints are stored
The directory where the lesson blueprints are stored
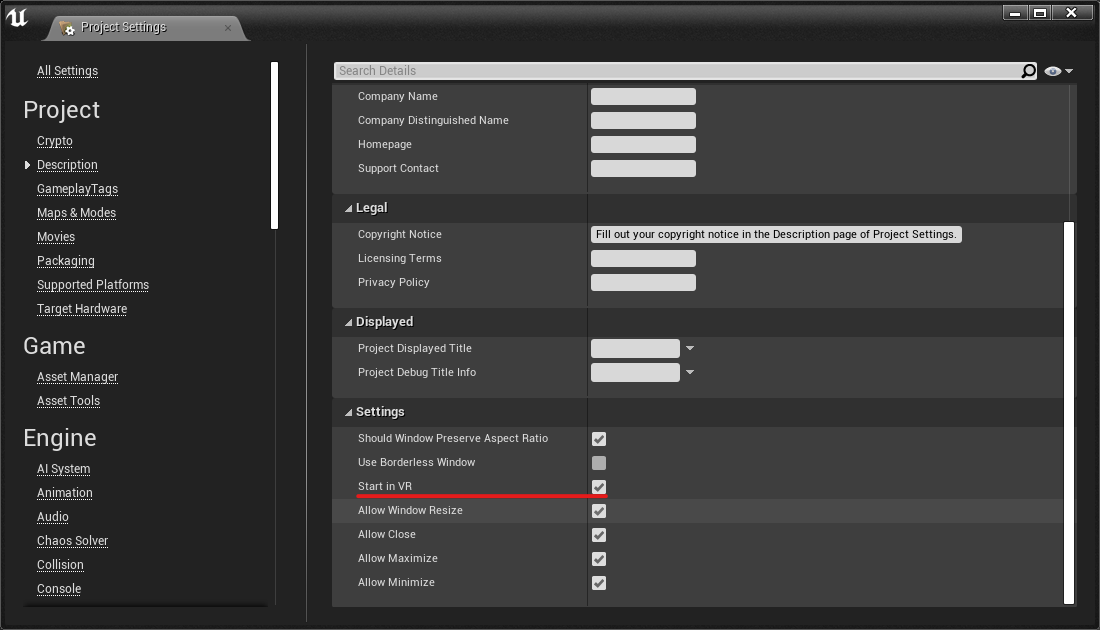
In the Project/Description section, make sure that “Start in VR” is enabled
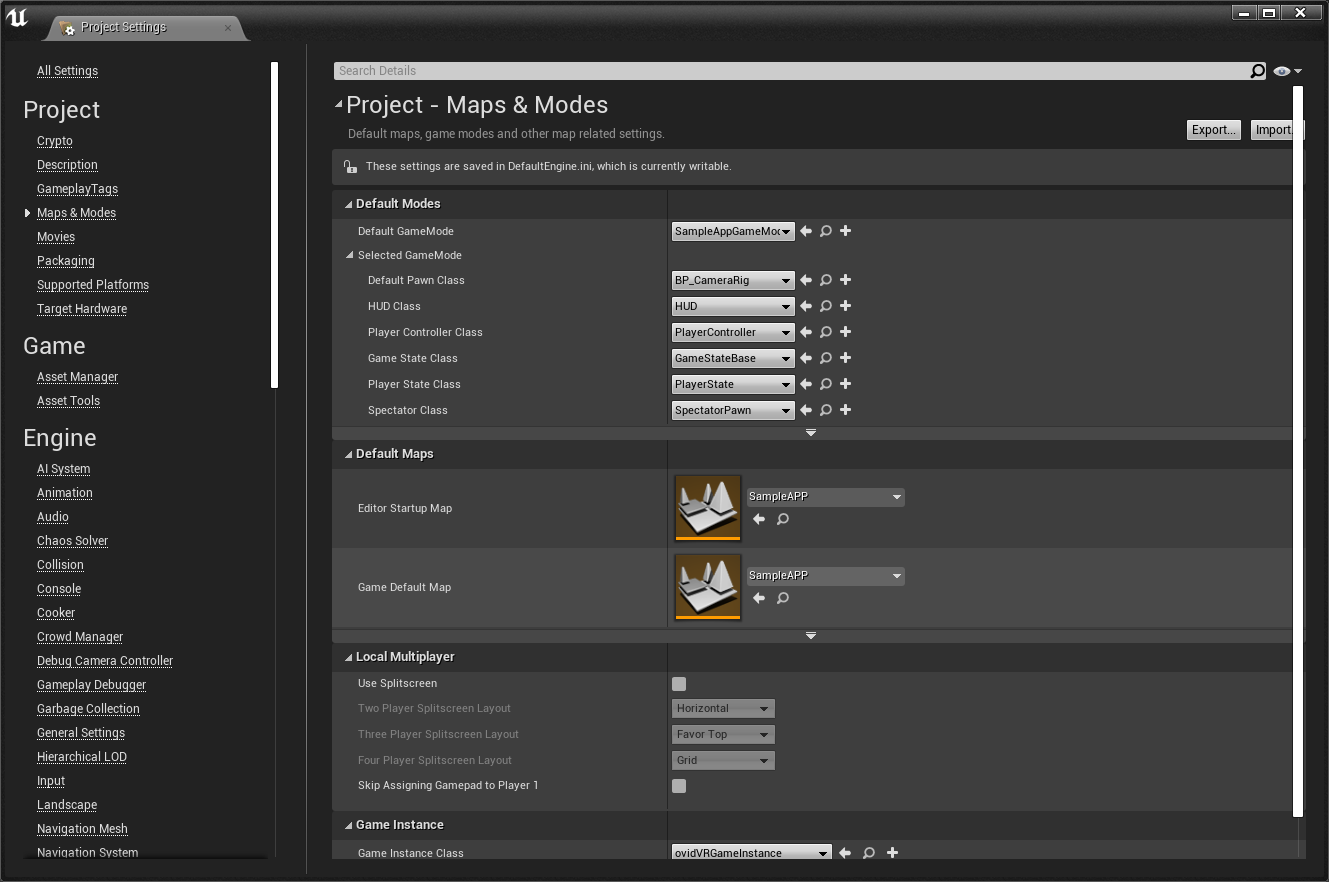
Maps & Modes Settings
In the Maps & Modes section, choose the application startup map through Game Default Map.
Packaging
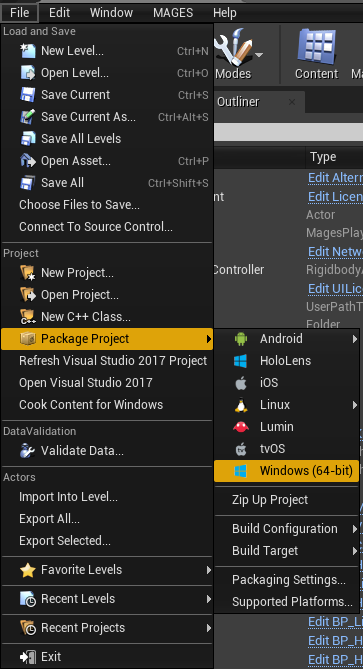
From the menu select “File”, choose “Package Project” and click on “Windows (64-bit)”.
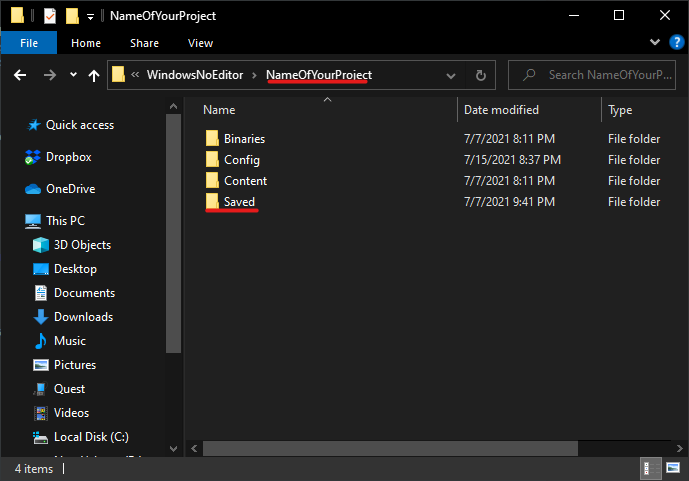
After packaging has finished, copy over the “Saved” directory from your project with the following target directory inside the packaged project’s folder: