First Insert Action
Introduction
Once you finished following the Step by step guide you are ready to start developing your first insert action with MAGES SDK.
Insert Action is referring to a specific type of Action that a user has to insert an object to a specific position in order to complete it.
Note
There are two ways to create an insert action. One can either start writing the script themselves, or create it automatically by setting up the required parameters from the MAGES menu.
Download the Empty MAGES Project Sample
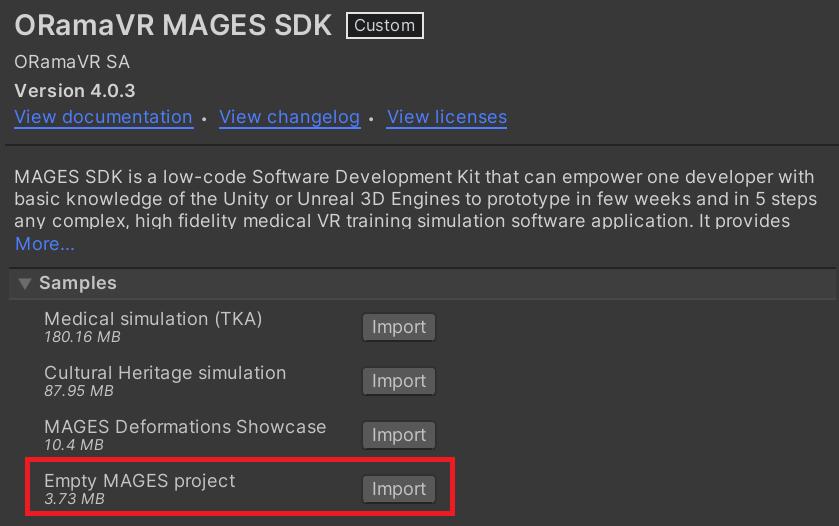
For this tutorial you will need the Empty MAGES Project Sample. It is an empty project with all the required components for you to start. It also has already implemented the first and last Actions of the operation.
To download the Empty project navigate to the Package manager and under the MAGES SDK package click to import the “Empty MAGES Project”
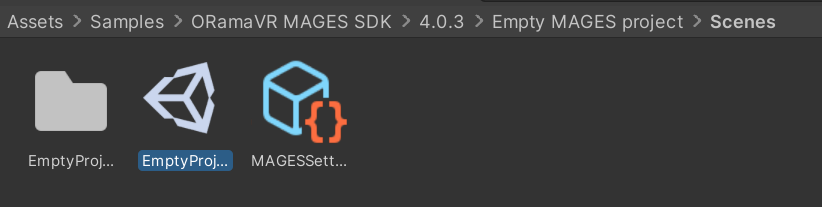
Then, open the EmptyProject scene:
Automatic Generation
To create your first insert action, without writing any code, please follow the following steps:
Navigate to MAGES menu –> Action Editor –> Insert Action.
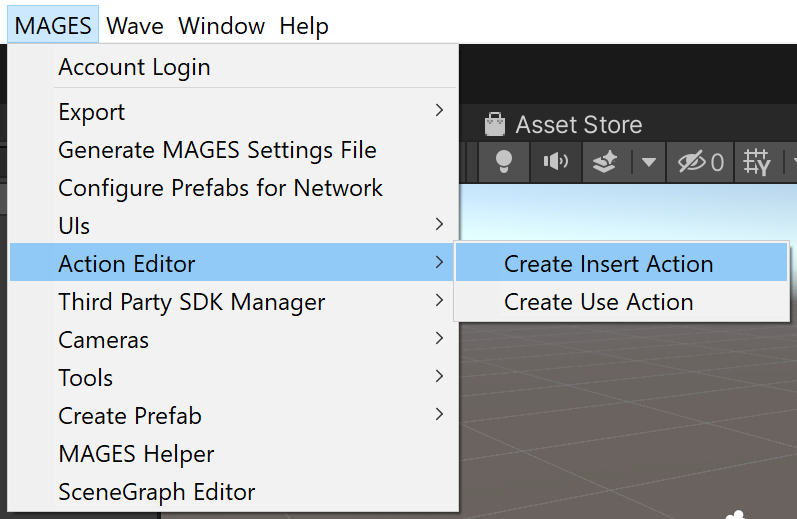
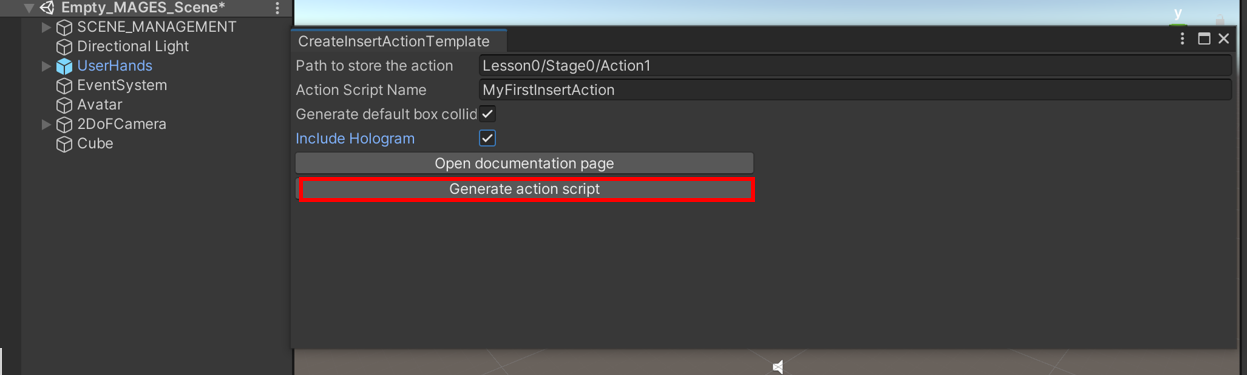
The following window will appear:
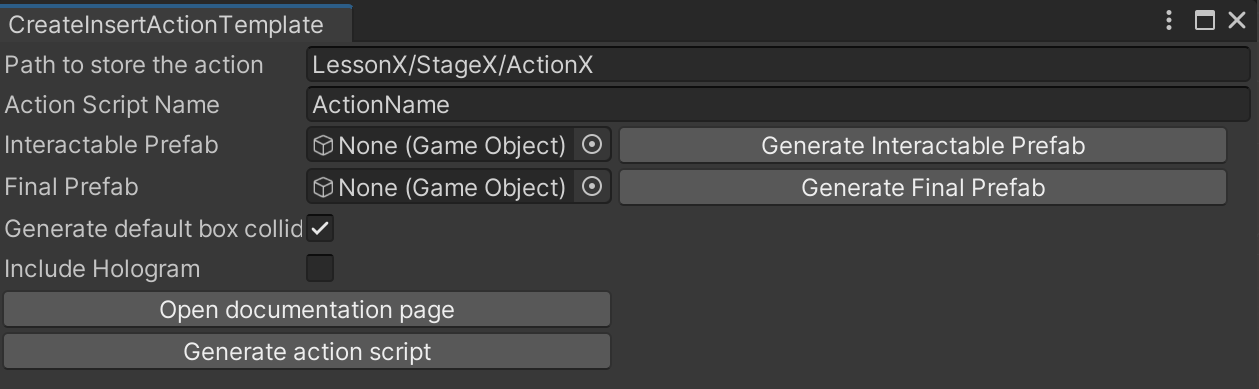
Each of the fields are explained below:
Path to store the action: This is the path where your prefabs will be saved. The automatically generated script will also be saved in the corresponding path under
Assets/MAGEScomp/Operation/ActionScripts/... (Please refer to Project File System for more information regarding the file system.).Note
It is recommended that the variables X, Y and Z in the path
LessonX/StageY/ActionZ/correspond to the IDs of the current lesson, stage and action. For example, if the Action we created is the first Action of the second Lesson we will name the path: Lesson1/Stage0/Action0. However, this is not mandatory, you can name the folders as you want. The only restriction is to have a “LessonPrefabs” folder under the “Resources” folder as the path to load the prefabs starts from there.Action Script Name: This is the name of the automatically generated script. It is recommended to name it “ActionNameAction” in which you can replace the “ActionName” part with the actual name of your action. This naming rule is recommended but not mandatory.
Interactable Prefab: This is an empty gameobject field. In this field, the prefab of your choice must be added. This is the prefab that you would like the user to pick up in order to place it somewhere.
Final Prefab: This is an empty gameobject field. In this field, the same prefab that you added in the Interactable Prefab field must be added, but now it should be located in the correct position and location. In other words, this will represent the target prefab in the final/correct position that the end-user must place it.
Note
You can save this position/rotation on the final prefab through the Unity Editor. After having saved it, you can simply drag and drop it in the Final Prefab field.
Generate Default Box Collider: This is a checkbox. If it is enabled, a default box collider will be created for the Interactable Prefab.
Include Hologram: This is a checkbox. If it is enabled, a hologram will also be created/include in the action.
Note
The hologram is a green see-through version of the Interactable Prefab, located in the position of the Final Prefab, indicating the correct position/rotation of the Interactable Prefab in order to aid the user.
To create a simple insert action, to act as the first action in your application (after the operation start action), kindly follow the next steps:
Locate and open the EmptyProject.unity scene.
From the Create Insert Action window, change the Path to store the action to
Lesson0/Stage0/Action1/. This will create the folders if they are not already there. As we mentioned, we are following this file structure since this is the second Action of the operation (the first one is the OperationStart)Set the Action Script Name to MyFirstInsertAction, or whichever name you prefer.
Create a 3D cube, through the Unity menu.
Drag and drop the reference of this cube to the Interactable Prefab and Final Prefab fields.
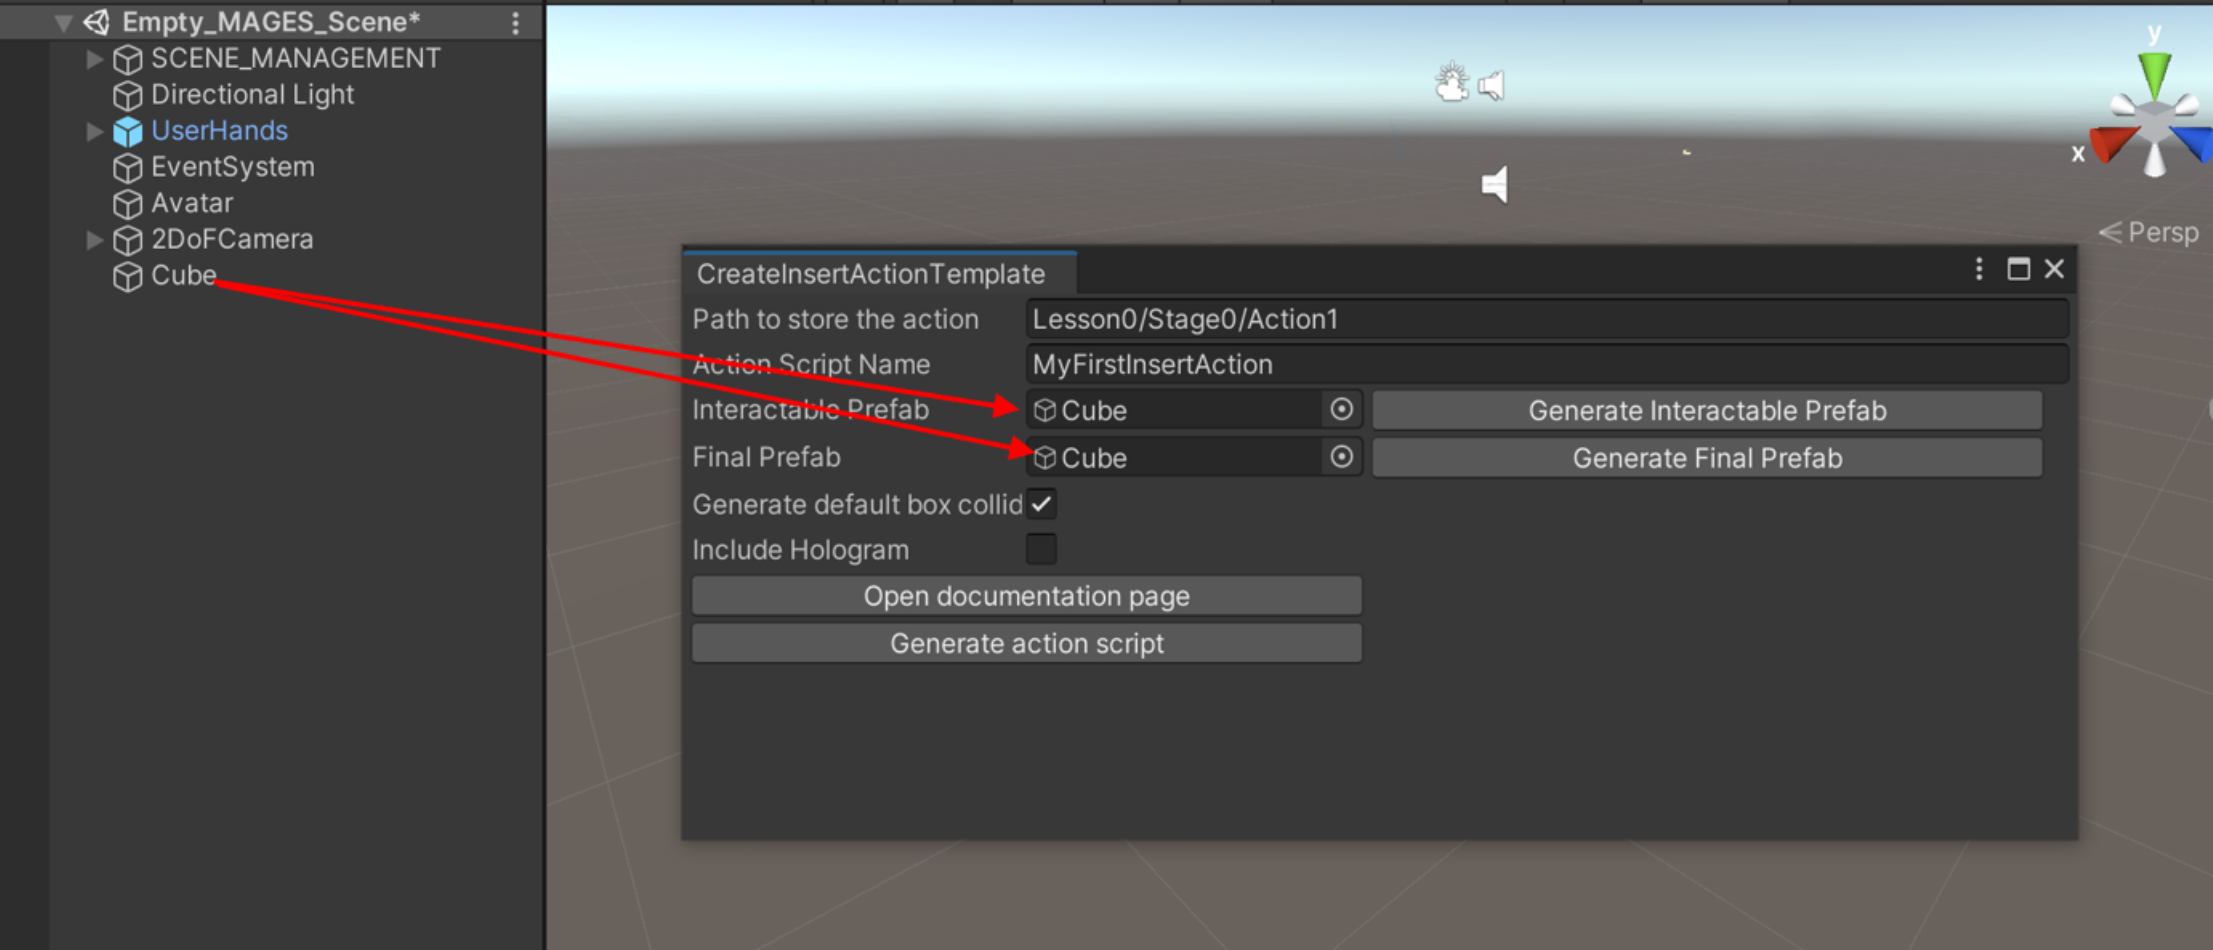
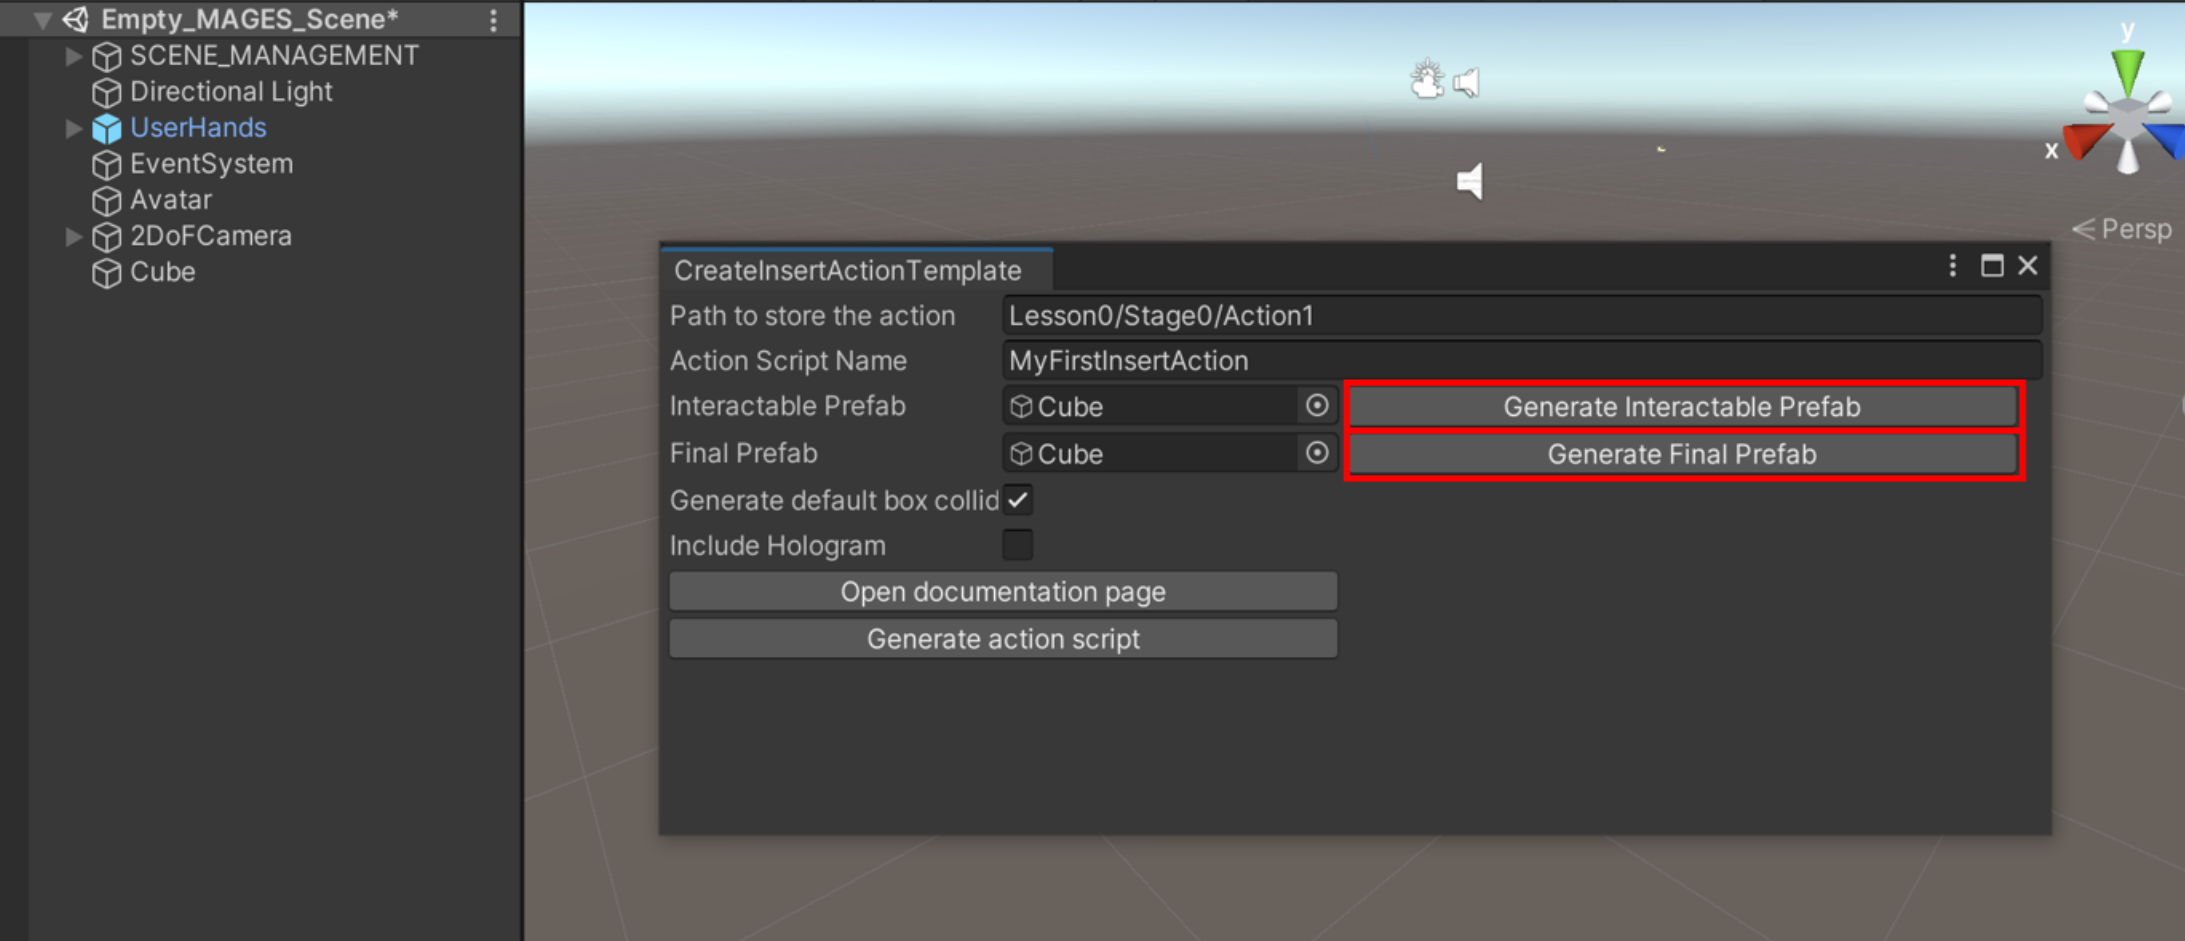
Click the Generate Interactable Prefab and Generate Final Prefab buttons.
Through the Unity Scene, move the newly spawned objects (namely New_Interactable_Prefab and New_Final_Placement_Prefab) to the position you desire. For this example, move the New_Interactable_Prefab to (-19, 1.5, -16) and the New_Final_Placement_Prefab to (-19, 1.5, -12).
Warning
The New_Interactable_Prefab prefab has gravity enabled by default. This will cause the cube to fall continuously in this example. It is recommended to click on the New_Interactable_Prefab and locate the RigidBody component in the Inspector. Then enable the Is Kinematic checkbox.

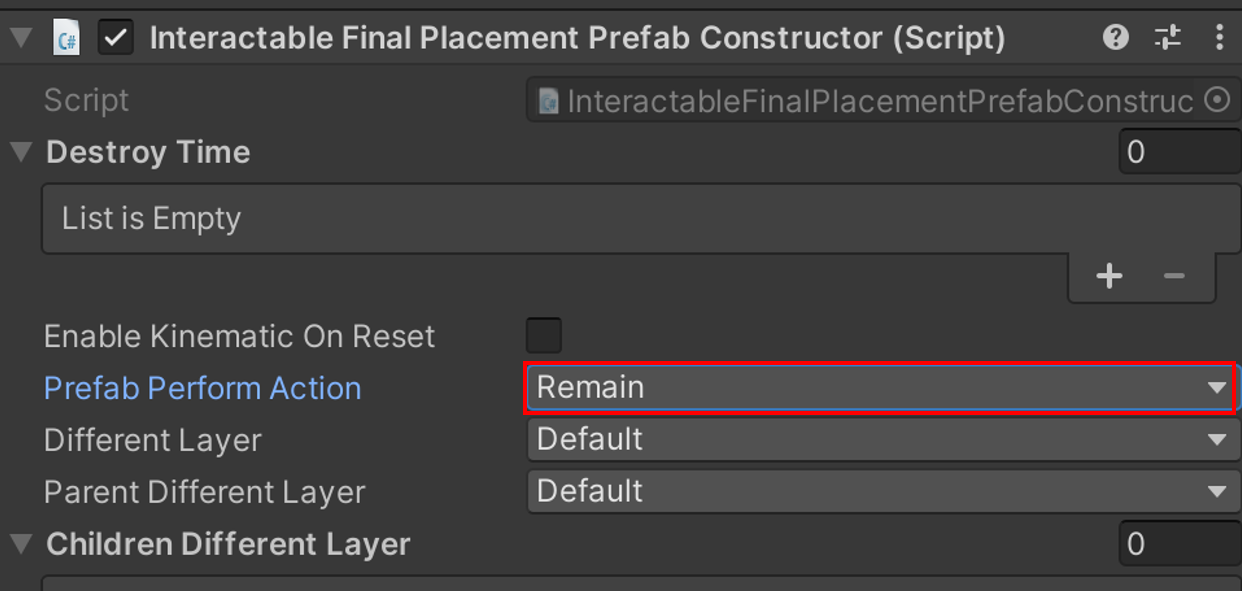
Warning
The New_Final_Placement_Prefab prefab is set to be destroyed by default during the end of the action. In order to prevent this from happening click on the New_Final_Placement_Prefab and locate the Interactable Final Placement Prefab Constructor component in the Inspector. Then change the Prefab Perform Action from Destroy to Remain.
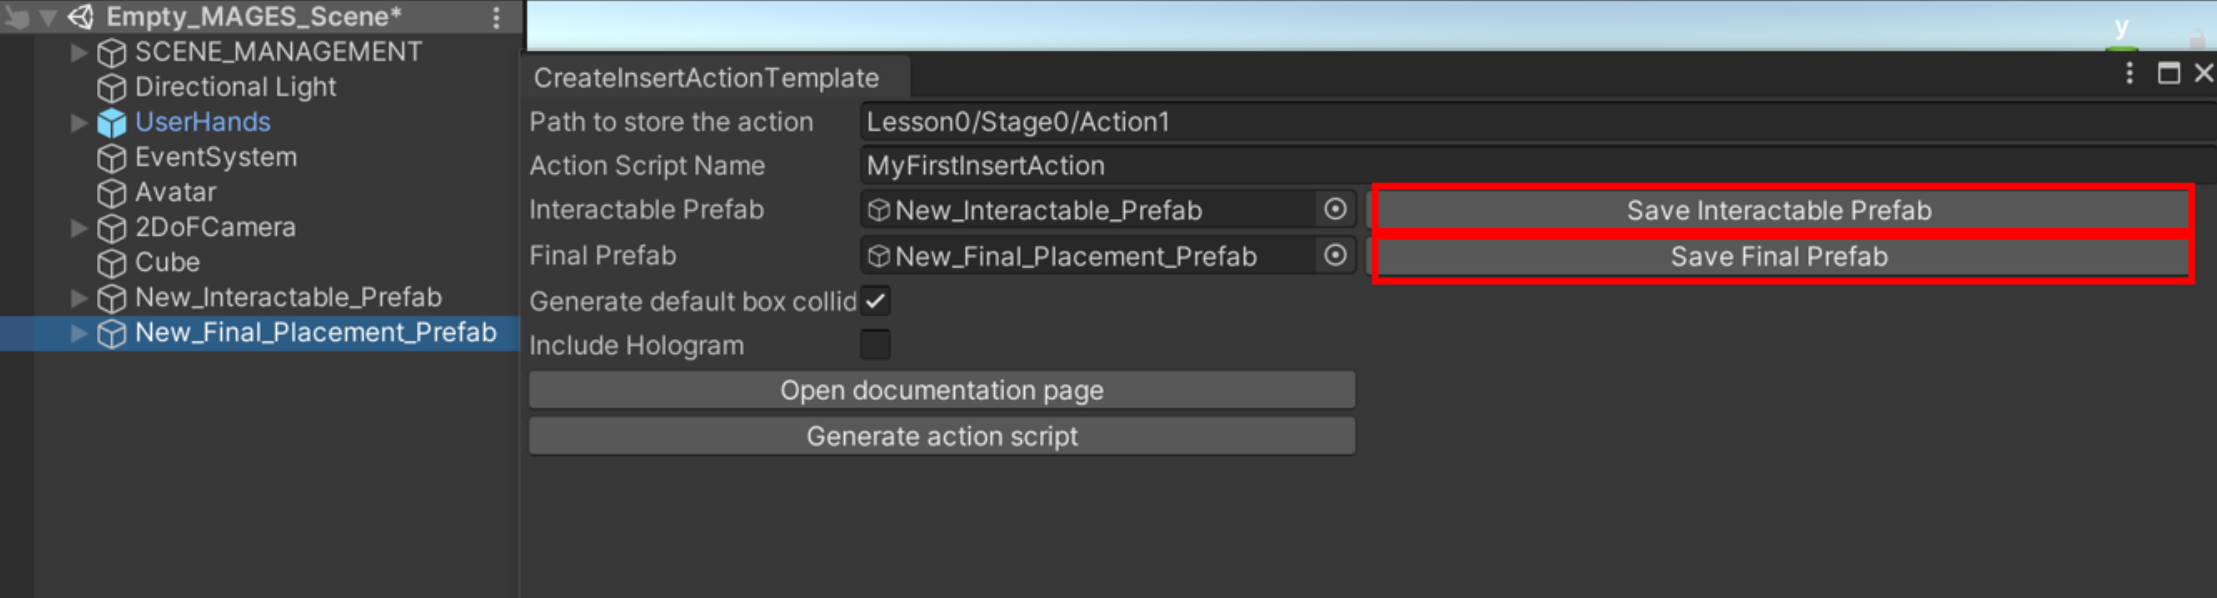
Click the Save Interactable Prefab and Save Final Prefab buttons.
Make sure that the Include Hologram checkbox is checked.
Finally click the Generate Action Script button to create the script.
Note
Your script will reside under
MAGES/Operation/ActionScripts/Lesson0/Stage0/Action1Note
Your prefabs will reside under
Resources/LessonPrefabs/Lesson0/Stage0/Action1
Adding your new action to your application
Once the necessary prefabs and script have been generated, the only thing that remains for the action to be operational is to actually be included in your application.
The empty MAGES scene contains a dummy action (i.e. an action that is empty and does nothing, which follows after the operation start action). We will now swap this action with your newly created one.
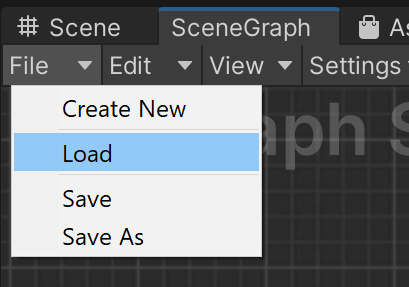
From the MAGES menu click the Scenegraph Editor option.
A new window will open. From this window, click the File button and then Load.
Navigate to the following path
Assets\Samples\ORamaVR MAGES\4.0.0\Sample App\Resources\Storyboard\platformand open the file EmptyProject.xml.Once the xml loads, you will see a graph like this.
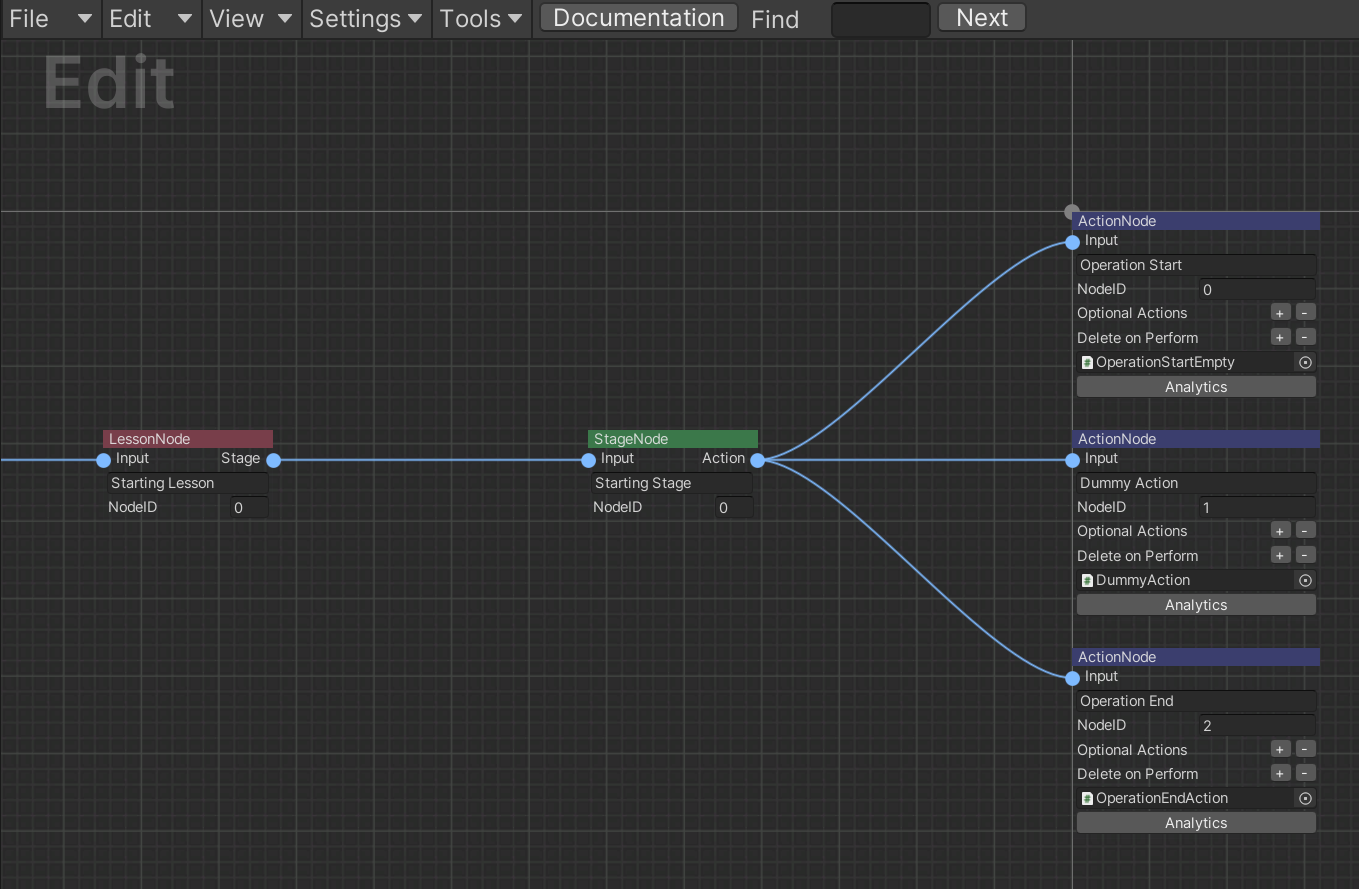
Locate the Dummy Action node and click on the script slot to change the script.
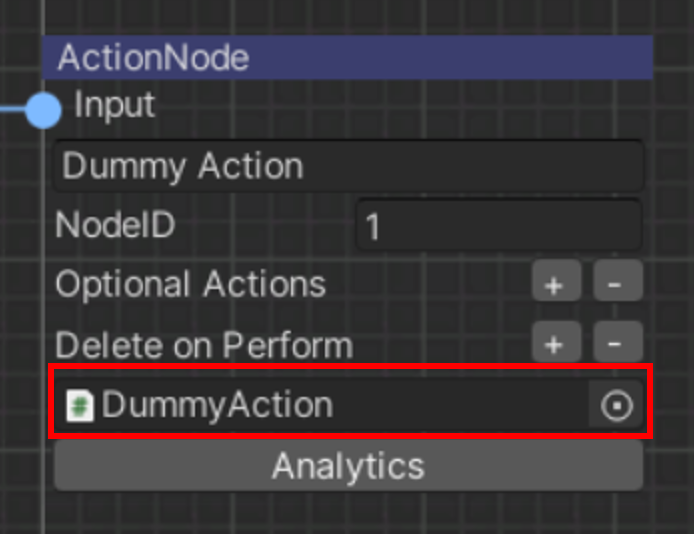
From the explorer window, locate the MyFirstInsertAction.cs script and click Open (normally it will be in MAGES/Operation/ActionScripts/Lesson0/Stage0/Action1).
Click the File button and then Save.
Manual Generation
The script and the prefabs can always be created manually as well. In that case, kindly read the guide located here: Insert Action.
Destop3D camera Tutorial
The Desktop3D camera is used to run a MAGES application in Desktop 3D mode, without the need of any HMD or controllers.
In this mode, the character is controlled through the keyboard and/or mouse/trackpad.
A UI is available in this mode, by pressing the space bar. This will open the menu of Desktop3D which gives the user the ability to move, rotate, lock the hands. Below, you can see the Desktop3D menu on action.
In the following table, a detailed explanation can be found, regarding each button of the Desktop 3D camera.
Button
Explanation
W or Up Arrow
Move forwards
S or Back Arrow
Move backwards
A or Left Arrow
Move left
D or Right Arrow
Move right
Q
Move downwards
E
Move upwards
F1
Toggle Body move mode
F2
Toggle Right Hand move mode
F3
Toggle Left Hand move mode
Tab
(Usually followed after pressing F1 or F2), enables the hand rotation mode with the use of mouse/trackpad
G
(Only after F1), enables/disables the cursor and freezes the camera rotation.
Left Mouse/Trackpad Click
Hand trigger on the hand targeted by F2/F3
Right Mouse/Trackpad Click
THand grip on the hand targeted by F2/F3
Ctrl
Switch hand plane movement (when F2 or F3 enabled)
Ctrl and Left Click or Right Click
Sends the Left or Right hand to the direction of the crosshair
You can utilize the Desktop 3D camera controller in order to run and execute the first insert action you created before. To do so, please follow the instructions below:
Ensure that the EmptyProject scene is open and click the “Play” button of the Unity Editor.
The first time you will open the application you will be prompted with the avatar customization UI to select the appearance of your avatar.
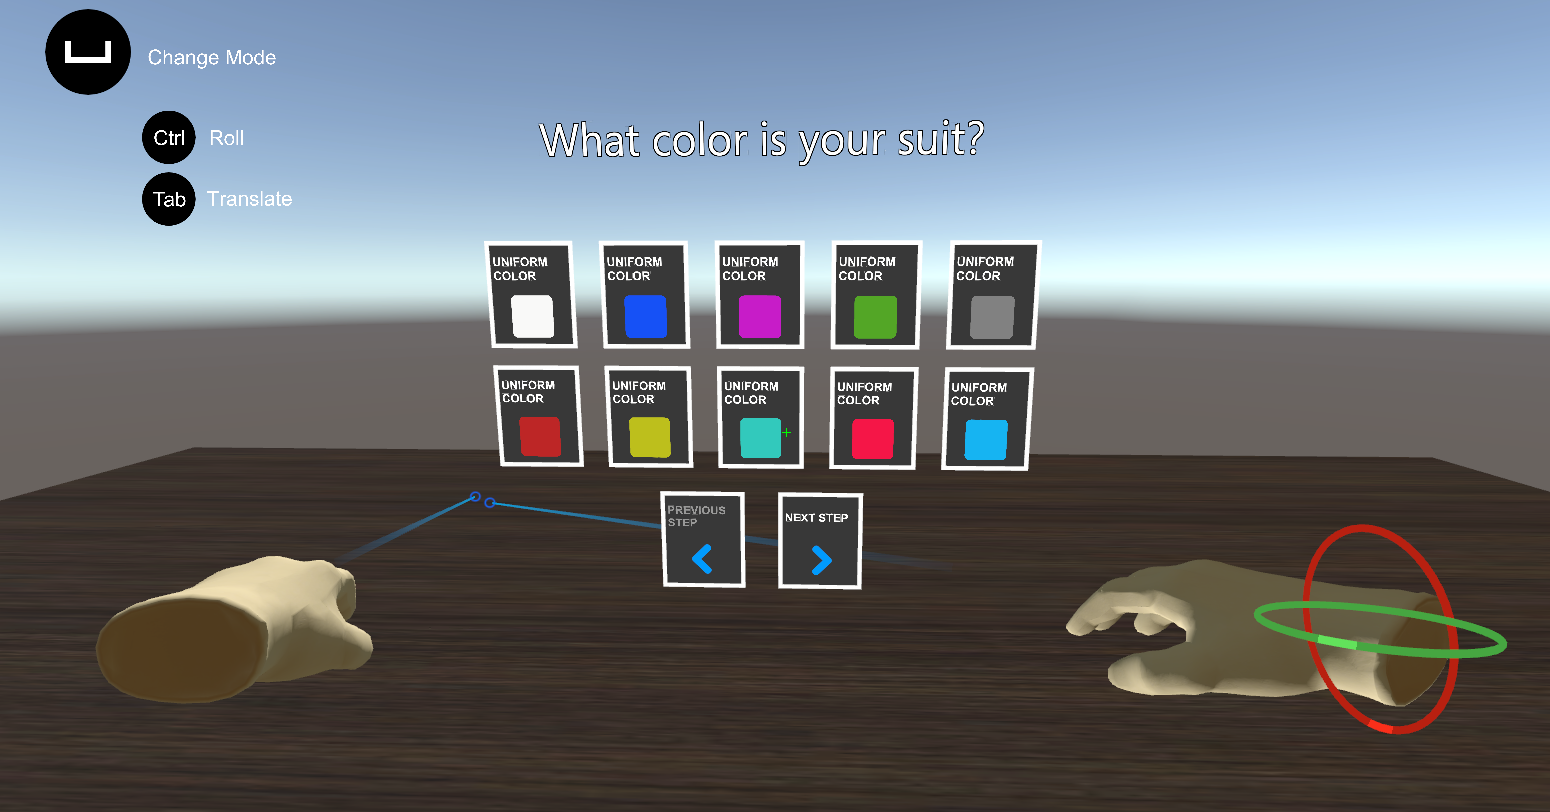
You will be presented with a menu like the following. This is the Operation Start menu.
You can find more information about the in-game UIs here (e.g the operation start buttons)
There are two ways to continue in this point. Either by pointing one of the virtual hands to the Single Player button and clicking with the left mouse button, or by pressing the X button on the keyboard. It is recommended to continue with the latter for now.
In this point, the New_Interactable_Prefab you set up in the tutorial above, will be present in the scene along with a hologram.
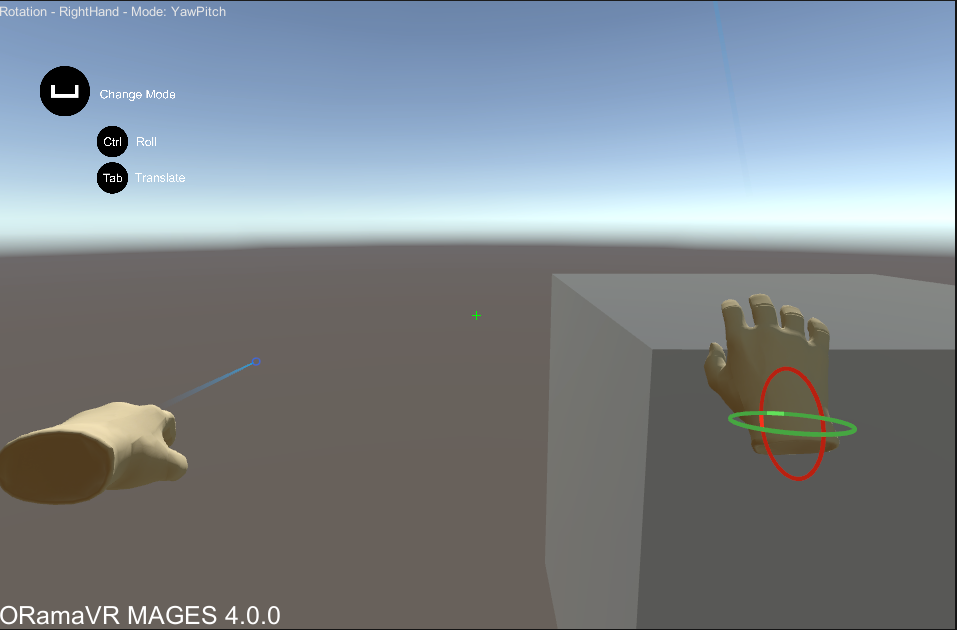
Activate the virtual right hand in order to be able to pick up objects. To do so, press F2+Tab from the keyboard.
Move close to the cube using the W/A/S/D/E/Q buttons. You will know that you are in the correct position when an outline appears around the cube like in the image below.
Click using the left mouse button (or trackpad) and hold it. The right virtual hand will hold the cube, as long as you hold the button.
Note
In case you accidentally drop the cube, you can restart the action by moving to the next one with the X button and then to the previous one again with the Z button.
While holding the left mouse button, use the W/A/S/D/E/Q keys again to move next to the green hologram.
Try to align the cube with the hologram, using the W/A/S/D/E/Q buttons. Once you do this correctly, the cube will be inserted in the position specified by the hologram.
Building the application
This section will demonstrate how to create an executable with your newly created insert action (in this case for the Windows platform.)
Copy the EmptyProject.xml file, which is located under
Assets\Samples\ORamaVR MAGES\4.0.0\Sample App\Resources\Storyboard\platform, to{User}\Documents\ORamaVR\Story\platform.Note
If this path does not exist in your Documents folder, create it manually.
Through Unity menu, navigate to File –> Build Settings.
Make sure that the EmptyProject is present in the list of scenes in Build Settings. If not, simply add it by click the Add Open Scenes button.
Click the Build button and specify the directory where you would like the executable file to be created.
Once the building procedure is finished, navigate to the directory you specified in step 4, and double click on the executable to start the application.
Note
For more information regarding building an application with MAGES™ SDK and all the supported platforms, please visit Build Instructions.