Animation Action
Animation Prefab Constructor
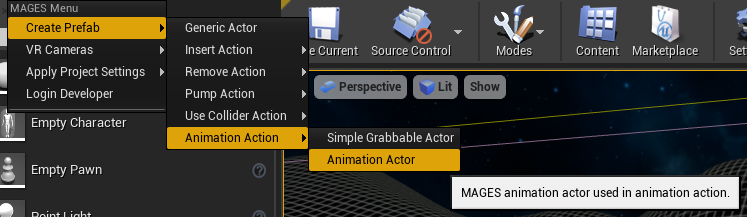
From the MAGES menu select the option Create Prefab/Animation Action/Animation Actor to create a new instance of an animation actor, as well as Create Prefab/Animation Action/Simple Grabbable Actor to create a new instance of an interactable actor.
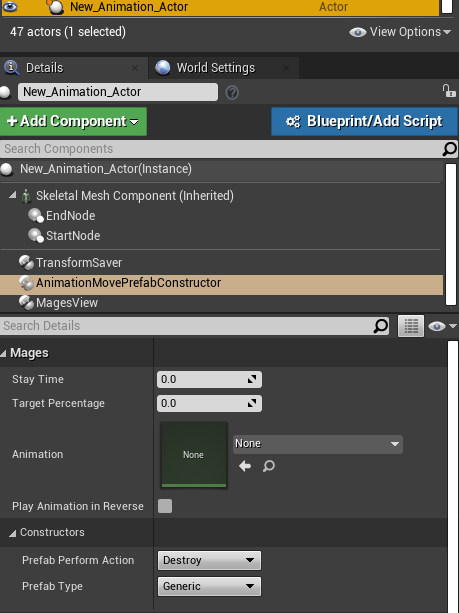
The template Actors will appear in the scene. It is recommended to configure these objects for your Animation Action. The Animation Actor has 3 important components;
1. AnimationMovePrefabConstructor 4. End node 5. Start node
The AnimationMovePrefabConstructor is used to reference all the needed assets for this action as well as configure its variables.
The End Node is used to set the finishing point of the animation. When the Interactable Actor has the same position as the End Node, then the Animation Action will be performed. We will get on that later on the tutorial.
The Start Node, similarly with the end node, is the starting point of the animation.
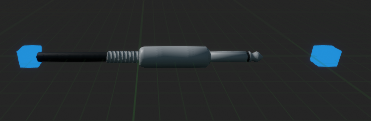
The image below shows the actor and its components.
So, let us begin creating our first animation action blueprint.
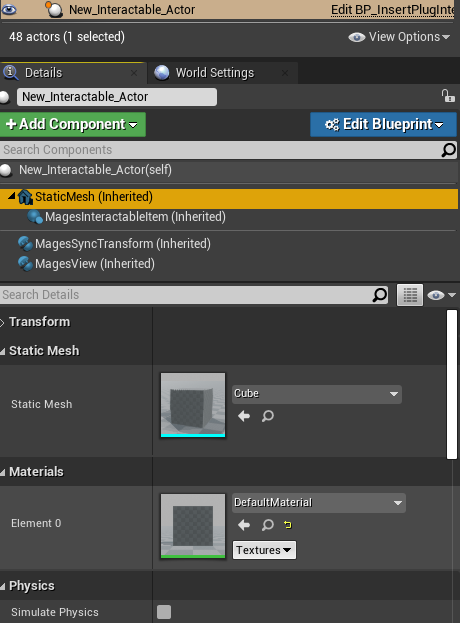
Configuration of the interactable Actor
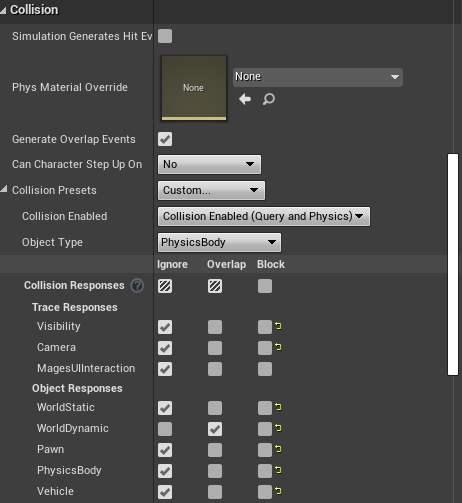
The configuration of the interactable actor is pretty easy and straightforward. | We need to add a mesh in the static mesh component as well as turn off Simulate Physics. This mesh will define the overlap boxes of our interactable actor. | Make sure that Simulate Physics is turned off
Configuration of the Animation Actor
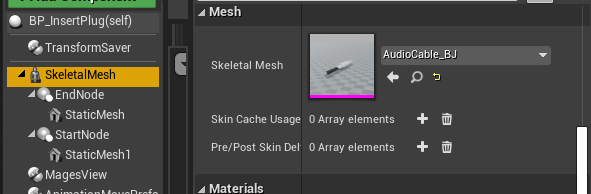
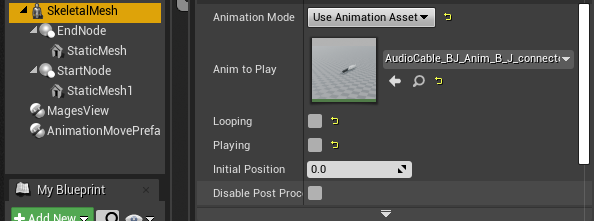
First of all we need to create a new blueprint class fromt he animation actor template in the scene. | Once we have our blueprint we can open it and select the skeletal mesh component. There we need to reference our skeletal mesh object, that has been animated.
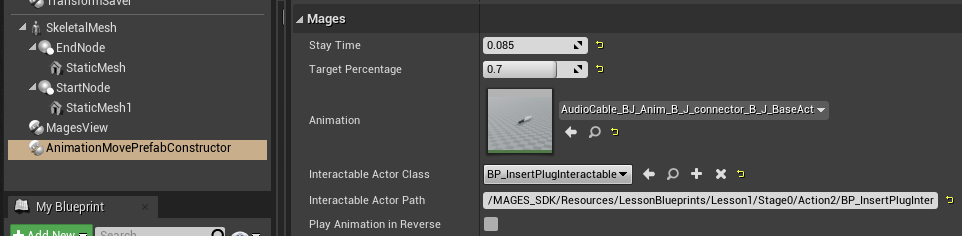
Continuing to the AnimationMovePrefabConstructor component, we have to configure the following variables:
Stay time : How much time the interactable actor needs to stay at its final position in order for the action to perform.
Target Percentage : The percentage of the distance that needs to be traversed in order for the action to be completed (or the stay timer to start counting)
Interactable Actor Class : The blueprint interactable actor class for this action.
Interactable Actor Path : The path to the interactable actor.
Play Animation in Reverse : In case we need the animation to play in reverse as we move the interactable actor from the start node to the end node.
Creating the Animation Action Blueprint
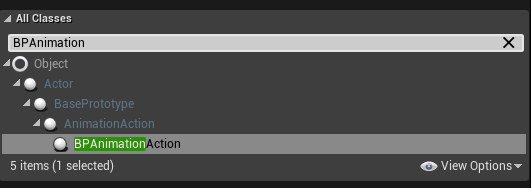
As with all actions we need to create its blueprint class. We right click in the content browser, select blueprint class and select to inherti from BPAnimationAction.
Below you can see our example animation action, which requires to blueprint nodes: | 1) Set Animation Prefab, where we reference the Animation Actor Blueprint. | 2) Set Hologram Prefab, where we reference the assistive Hologram.
Finally, simply save the blueprint and reference it from the scenegraph blueprint and we can test our animation action.