Insert Action
To generate an Insert Action you need the following three prefabs:
The interactable Prefab
Its final position
A hologram indicating the final position
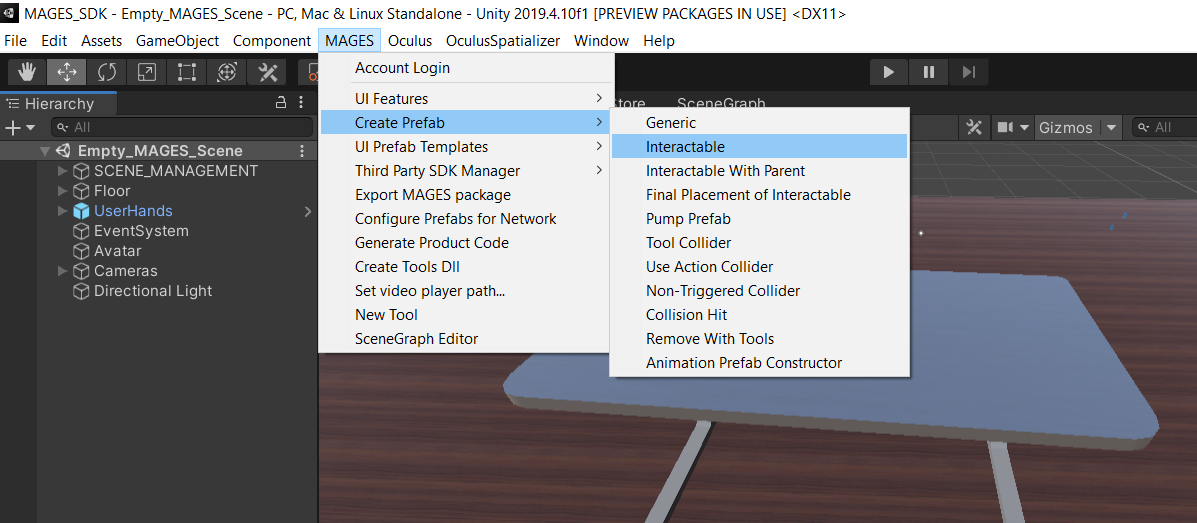
Interactable Prefab
From the MAGES menu select the option CreatePrefab/Interactable
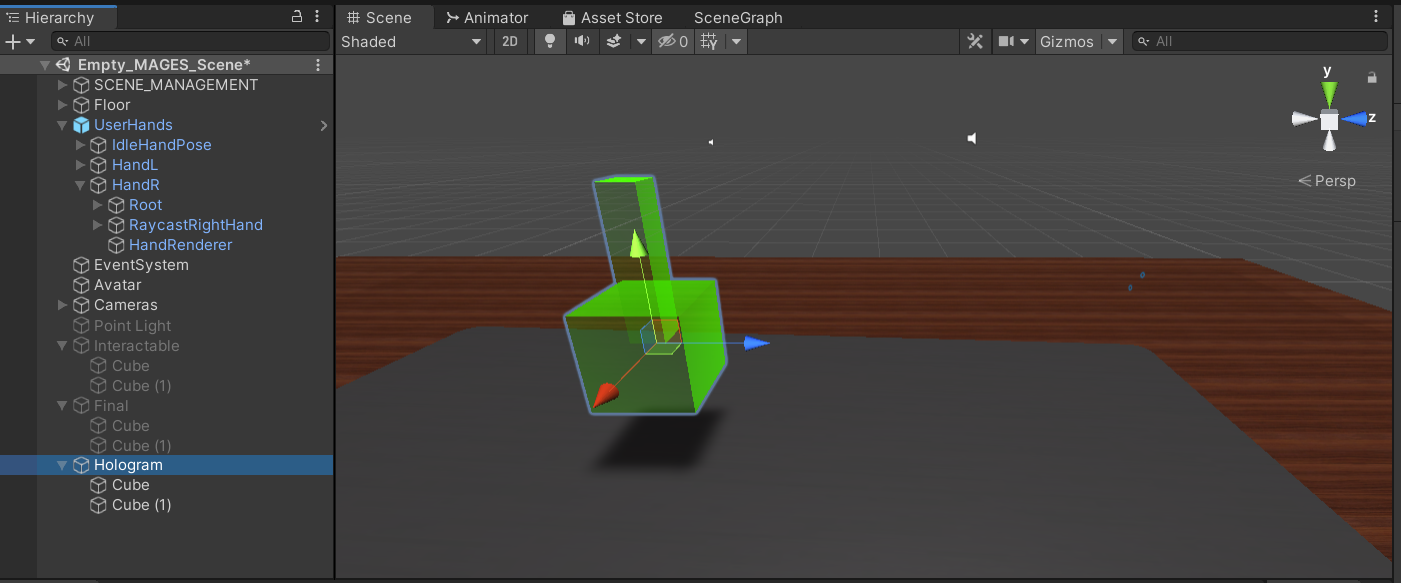
The template gameObject for the interactable prefab will appear. It is recommended to use this object as the root of your interactable prefab. Now we will populate the prefab with our object. In this case we will use two cubes. Below you can see the final result.
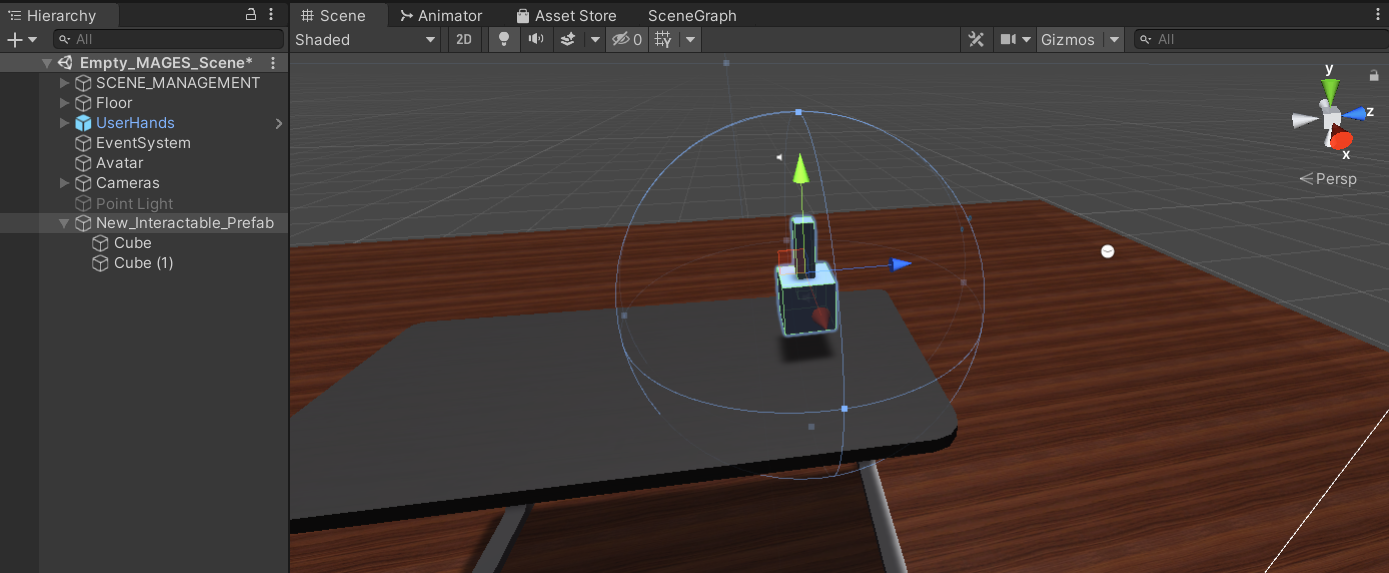
We renamed the gameobject to “Interactable” for our convenience. Remember to add physical colliders to the object as you need to grab it, otherwise it will pass through the table.
The next step is optional but recommended for a more natural interaction.
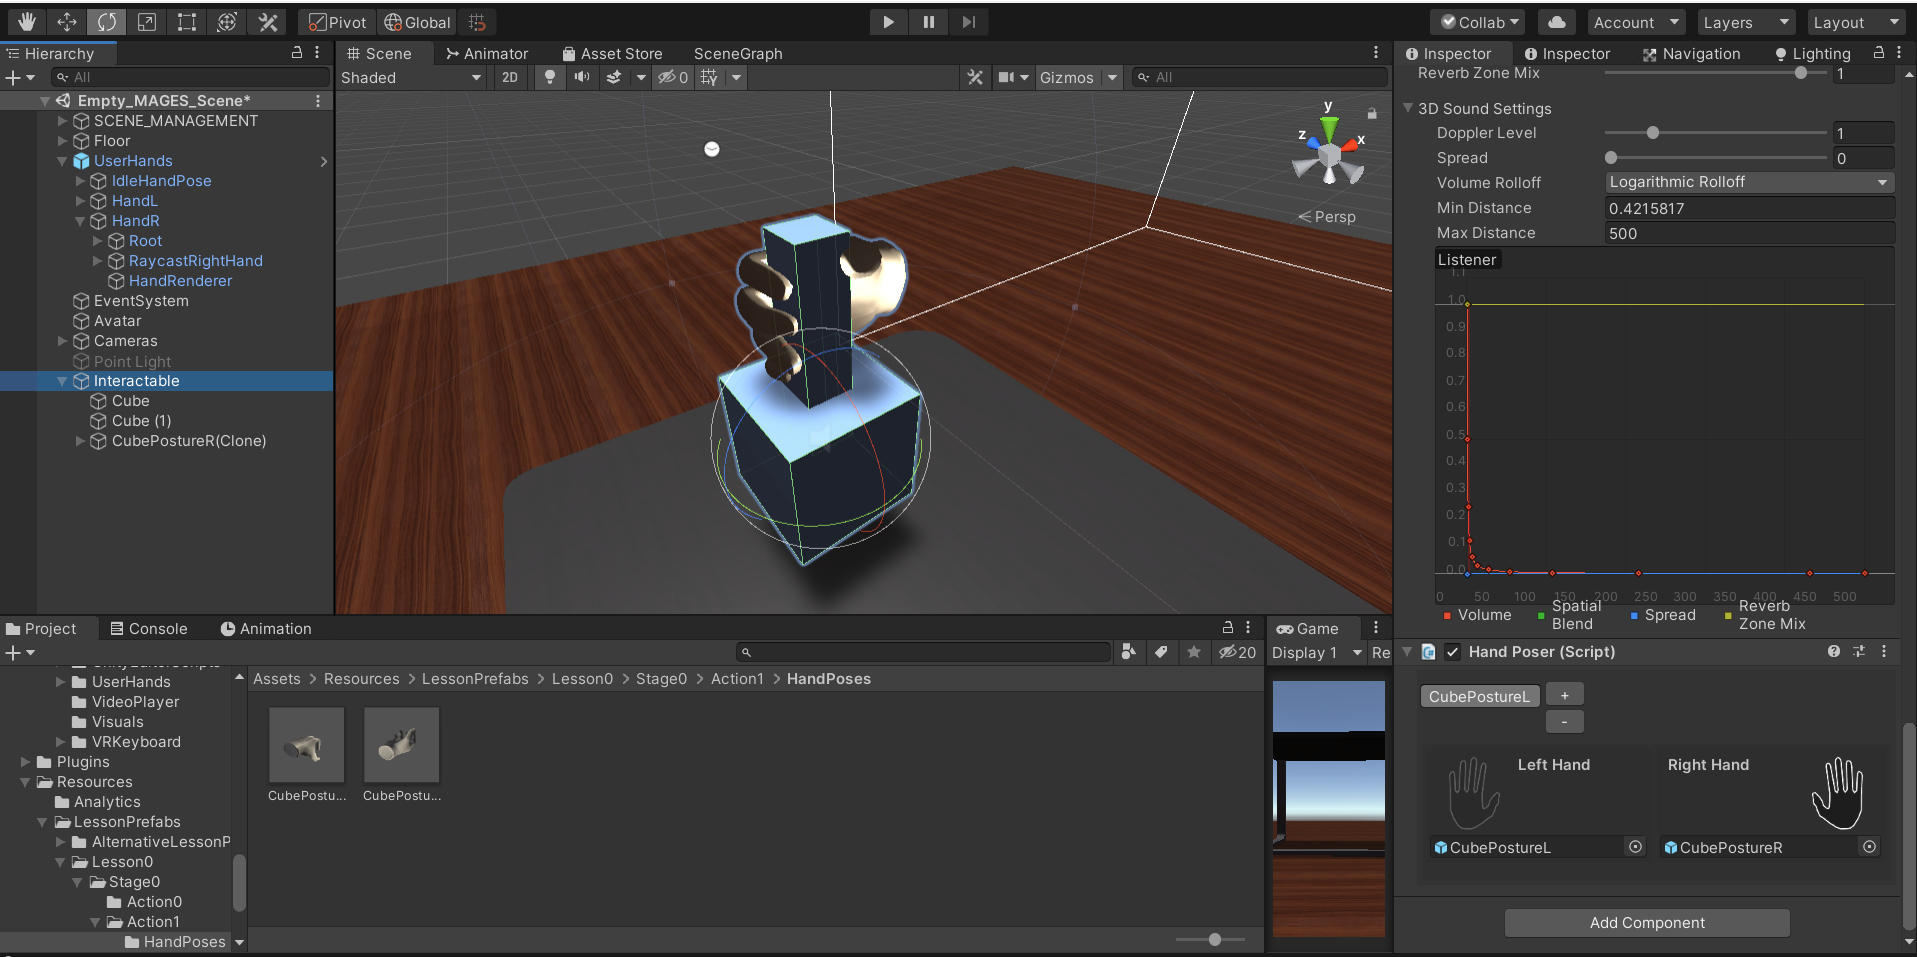
We need to configure hand postures when interacting with an interactable object. You can read here a detailed tutorial on how to properly setup hand postures. The image below shows the posture of the right hand attached on our object.
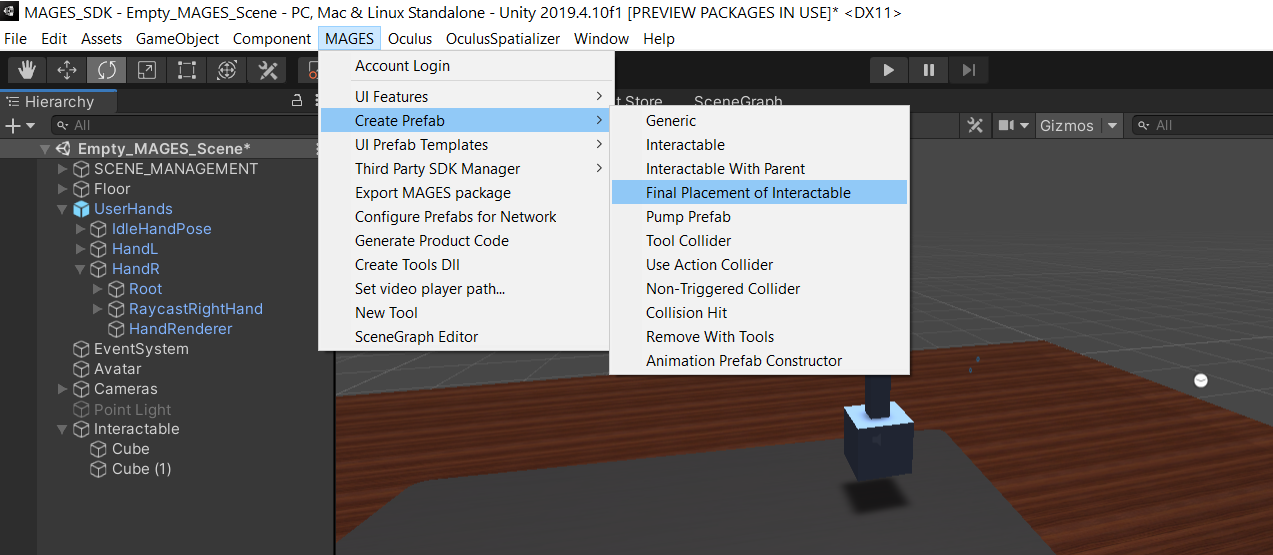
Final Prefab
The next step is to generate the final prefab. This indicates the correct position and the orientation of the object. In a similar way, we navigate to the MAGES menu and click the CreatePrefab/Final Placement of Interactable.
Warning
The Final prefab must have the same pivot with the interactable prefab because the PrefabLerpPlacement script checks if the orientation (position and rotation) of the objects match to perform the Action.
For this reason, the safest way to generate the final prefab is to duplicate the interactable, copy the transform of its root, paste it on the final prefab template and transfer its children to the final prefab.
Remember to set its rigidbody component to kinematic and all its colliders to trigger.
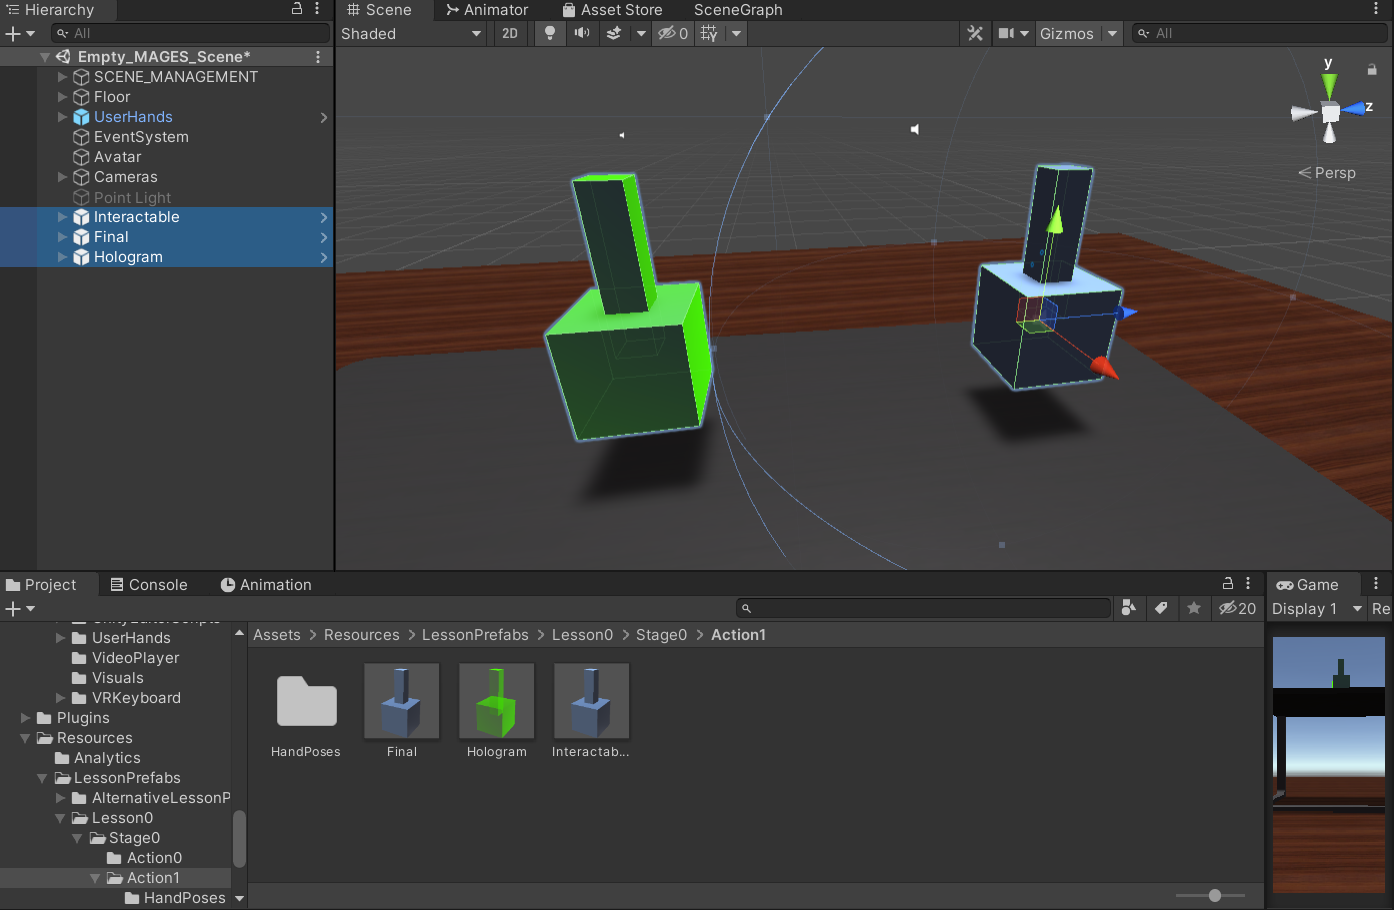
The image below shows both the interactable (right) and the final prefab (right).

Hologram Prefab
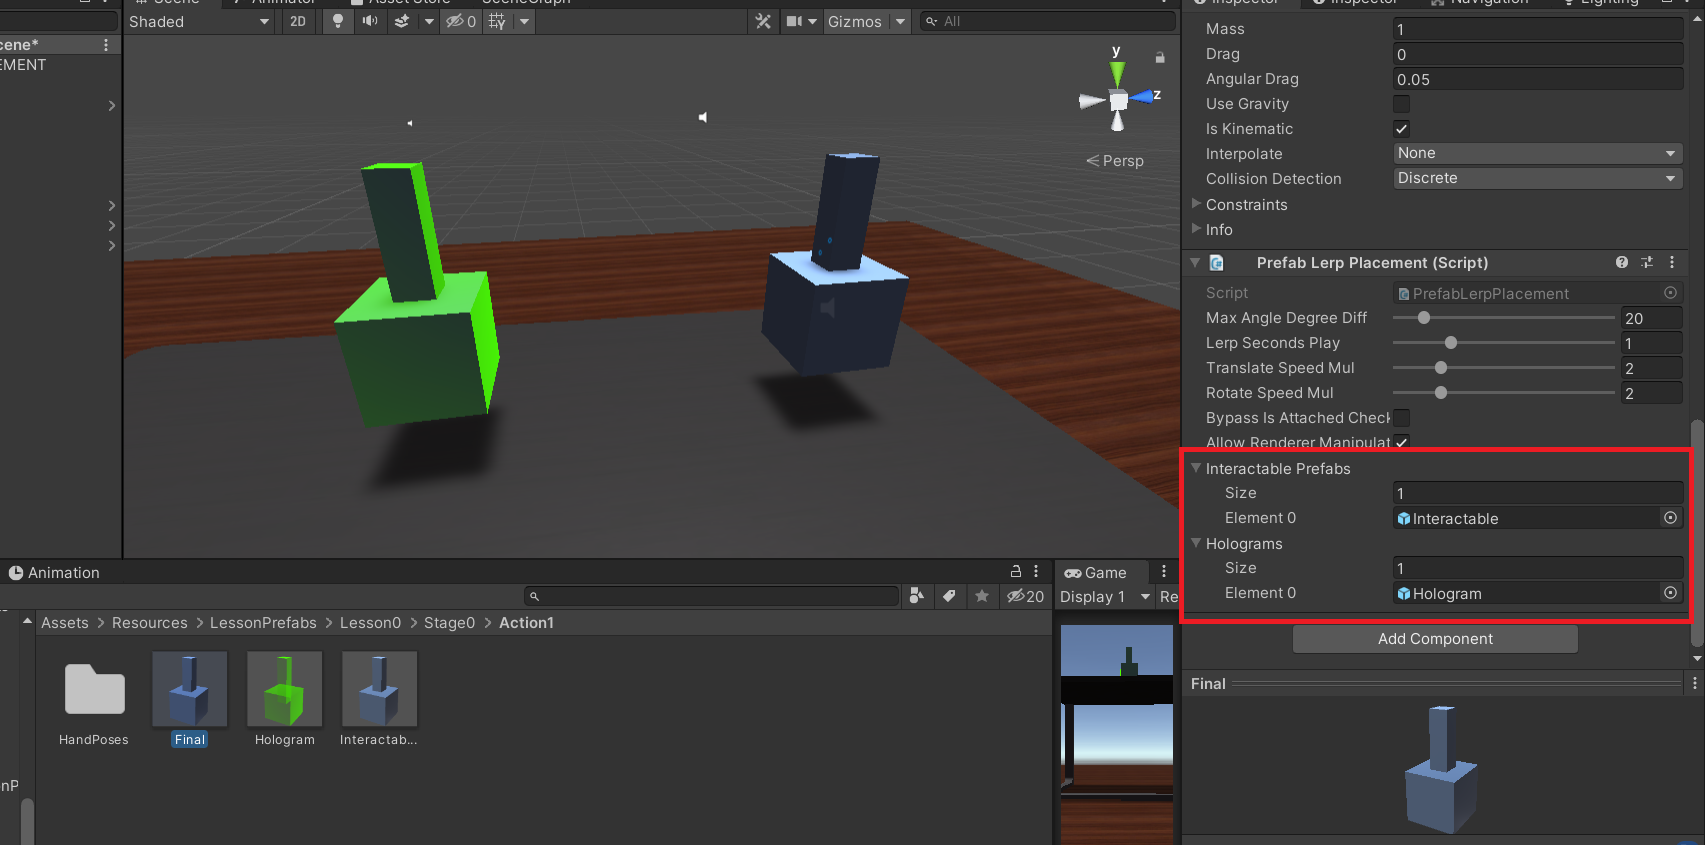
The hologram prefab does not have any component or script attached. It is just a copy of the final prefab with the holographic material. Remember to remove its colliders as well.
Save prefabs and final configuration
Save the prefabs in the Resources folder. It is recommended to keep the prefabs in folders according to the scenegraph structure. In this case we will save the interactable, final and hologram prefab at Resources/Lesson0/Stage0/Action1 folder.
The final step is to configure the PrefabLerpPlacement script which is attached to our final prefab. This component indicates the interactable prefab that matches with this final prefab as well as the hologram. Additionally you can set up properties like the tolerance in angle difference with the interactable or set up the lerping behavior. The image below shows the interactable along with the hologram prefab linked with the PrefabLerpPlacement component.
Action Script
In this step we will write the Action script. The script below initializes our interactable and final prefab and spawns the hologram prefab as well.
using MAGES.ActionPrototypes;
public class InsertCubeAction : InsertAction
{
    public override void Initialize()
    {
        SetInsertPrefab("Lesson0/Stage0/Action1/Interactable", "Lesson0/Stage0/Action1/Final");
        SetHoloObject("Lesson0/Stage0/Action1/Hologram");

        base.Initialize();
    }
}
We save the Action script in path following the scenegraph structure
Add the Action to Scenegraph
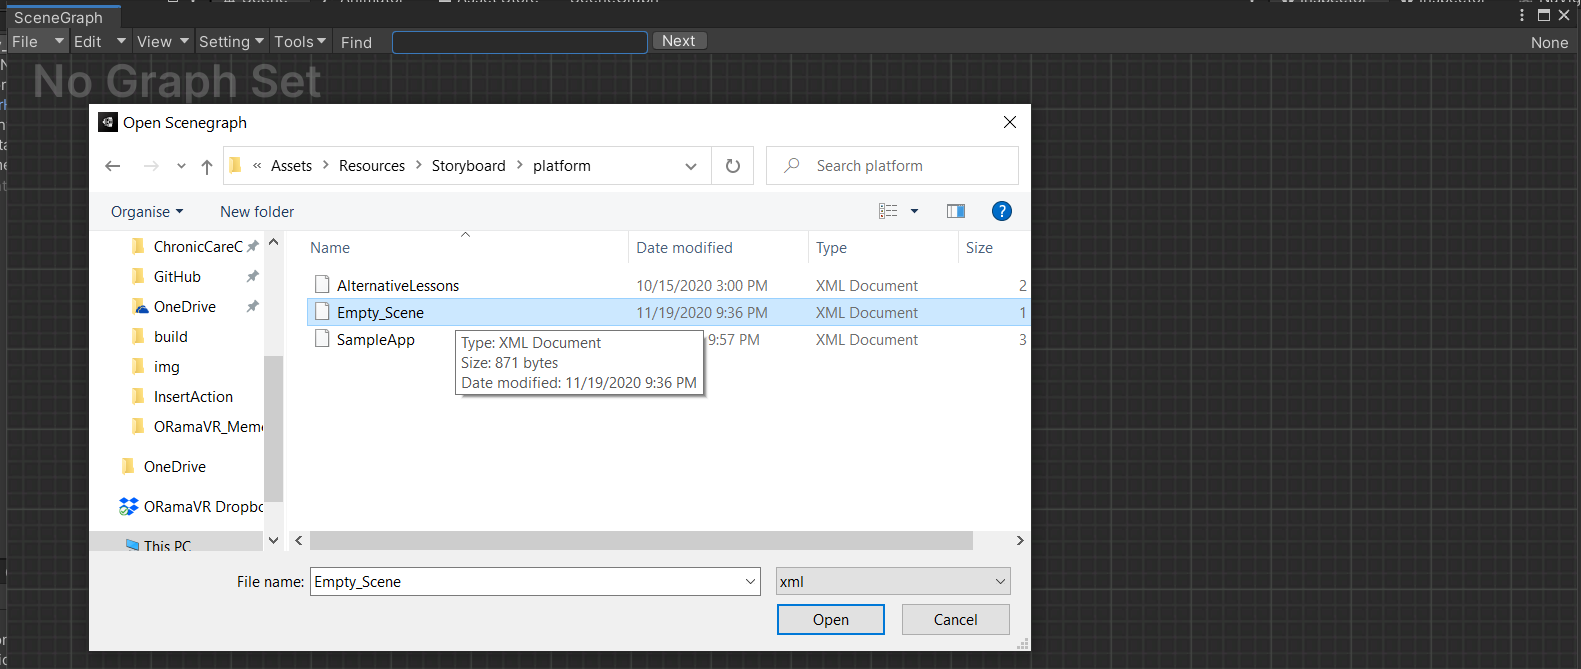
The final step is to link the ActionScript to the scenegraph. From the MAGES menu click Scenegraph Editor. At the Scenegraph Editor tab, click File/Load and the proper .xml import the scenegraph. In this case is the Empty_Scene.xml.
To add a new Action Node right click inside the Scenegraph Editor and select “Action Node”. Fill the Action description, along with the proper NodeID (in this case is the second Action) Finally, add the reference of the Action script.
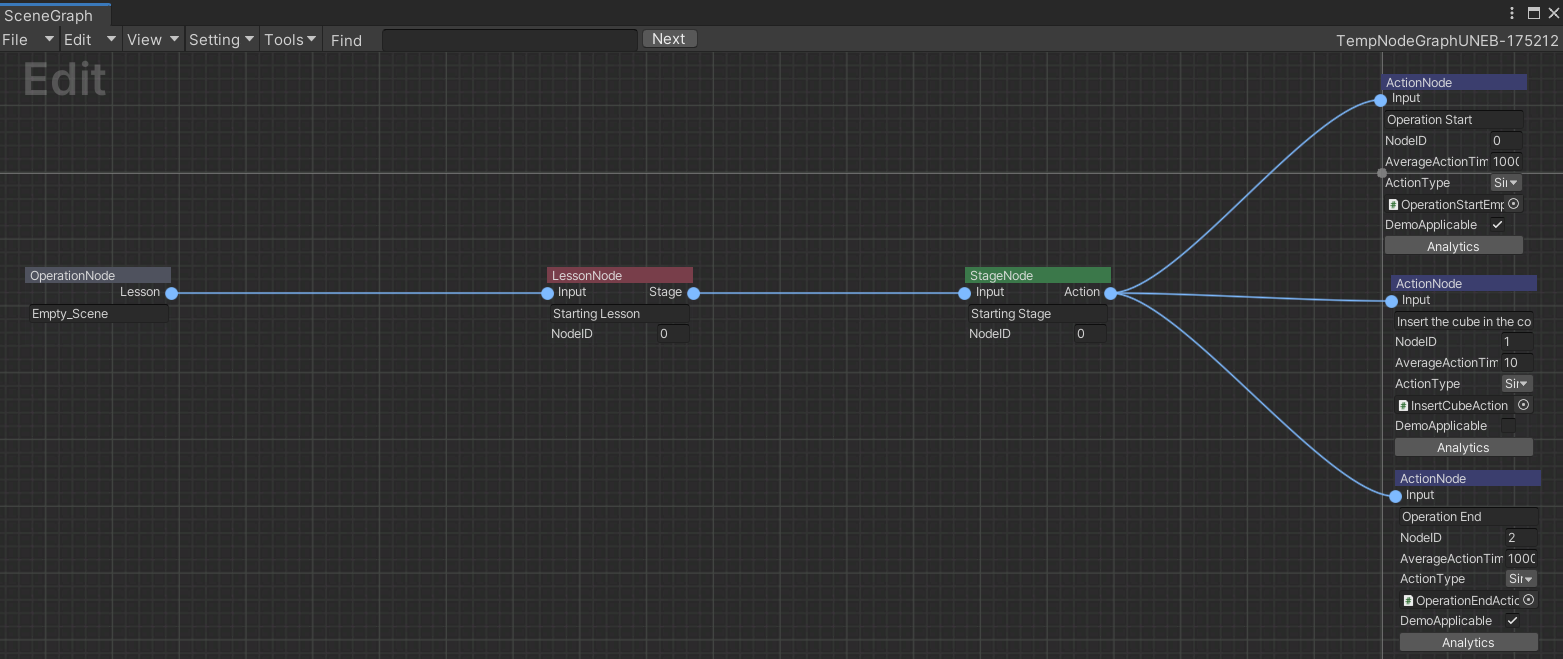
From the Scenegraph Editor menu, click File/Save to save your changes.